When editing Thrive Apprentice templates, such as the “Certificate Verification” template, you have the option of using dynamic text on it.
This helps you customize the templates with user related information, such as the certificate issue date, number, course name and so on.
In this article we’ll have a look at how you can access this option and how you can use it on your templates.
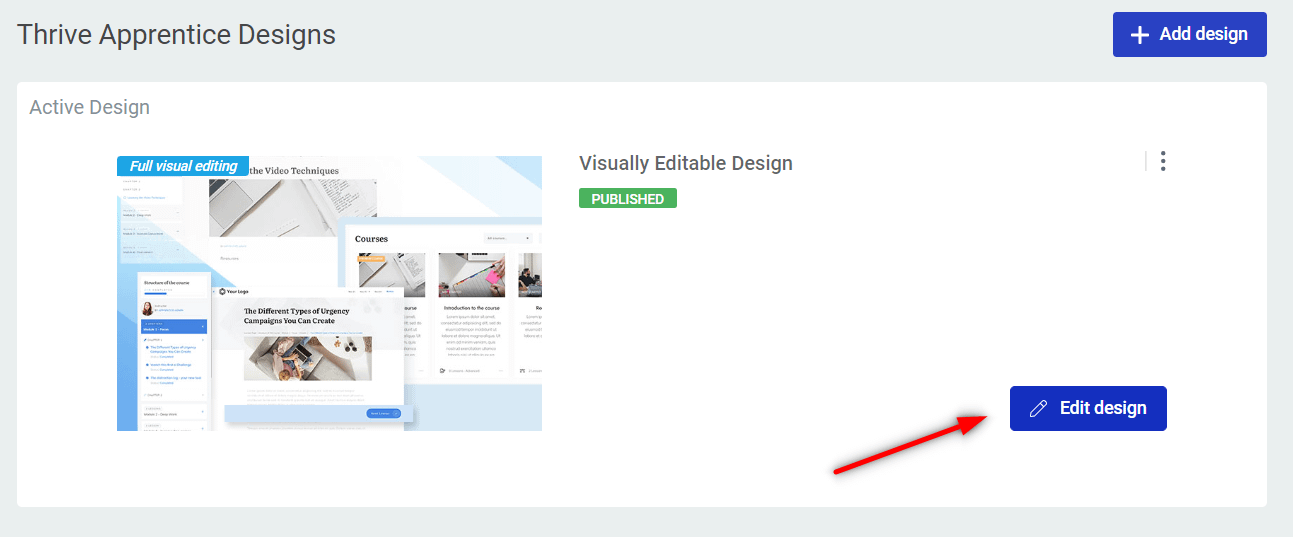
First, you need to access the “Certificate verification” template of your school design. For that, click on the “Design” tab of your Thrive Apprentice navigation bar:

Then, click on the “Edit design” button of the currently active design:
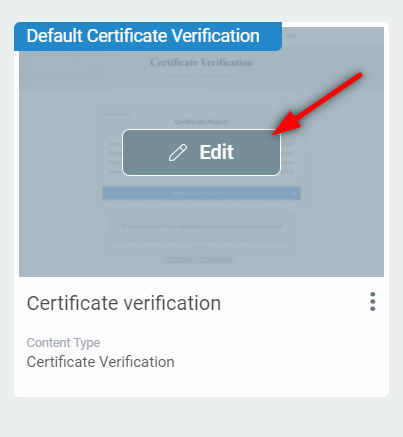
And access the template manager:

Lastly, look for the “Certificate Verification” template and start editing it:
Here’s an article that you might find useful if you want to learn more about working with the “Certificate Verification” template:
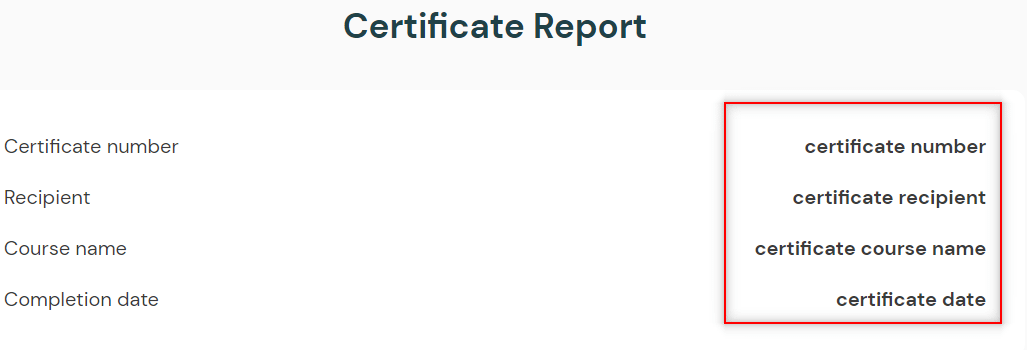
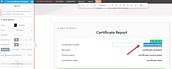
The second column of your certificate is made entirely out of dynamic text – this means that the data shown here will be different depending in the student for which this certificate is issued:
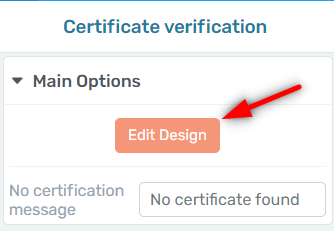
You can view that if you enter the “Edit design” mode first:
Then select one of the text available in the column from the right side of the certificate:
Then click on the “Dynamic” option from the editing panel:
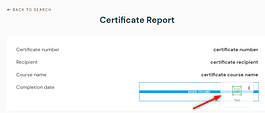
And here you will be able to access (and change) the currently exiting dynamic text:

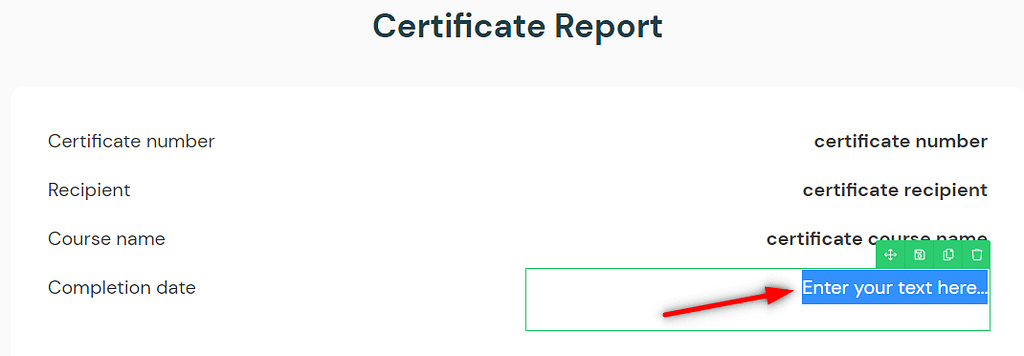
Let’s say, for example, that my certificate does not have the issue date on it and I want to add it.
I will be using a “Text” element, that I’m just gonna drag and drop onto my already existing certificate template:
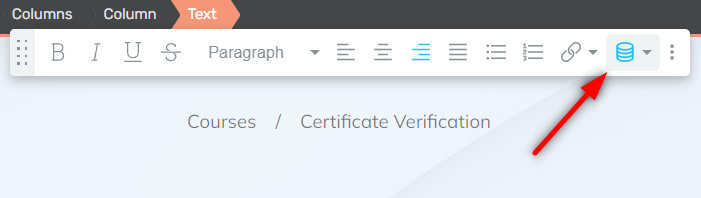
Then select the text:
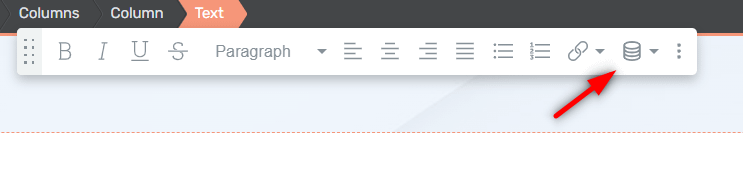
Click on the “Dynamic” option from the editing panel:
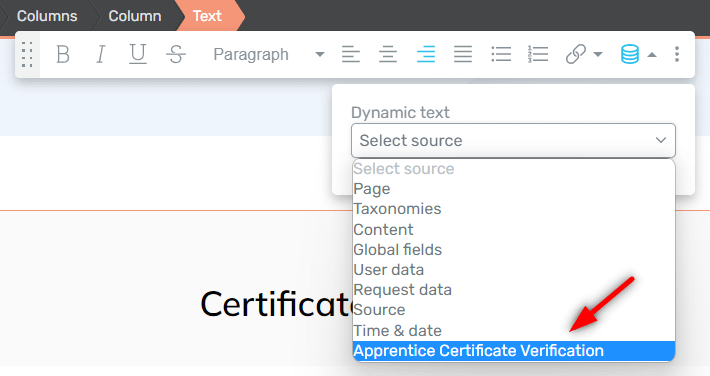
Open the source drop-down list:
Select “Apprentice Certificate Verification”:
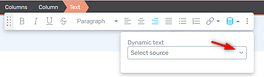
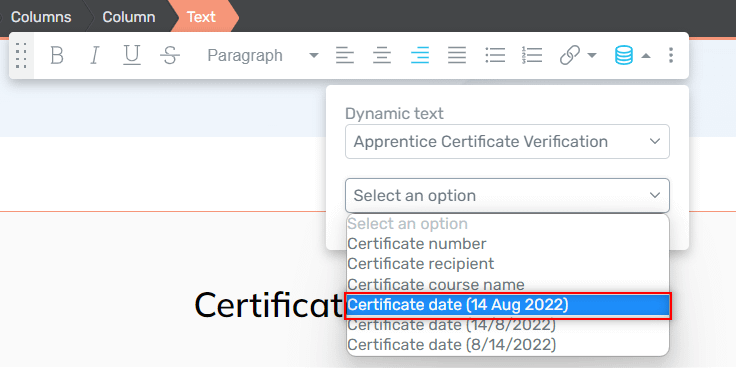
Now a second drop-down list will become available:
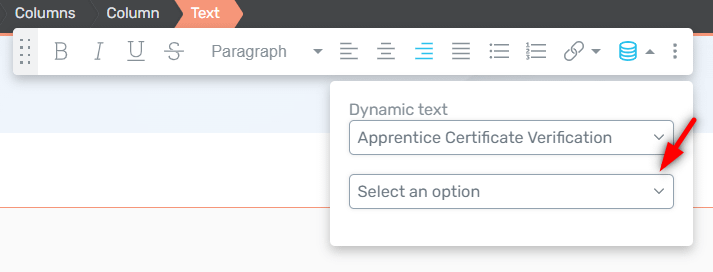
Open it and select the dynamic data you want to display, in this case the issue date:
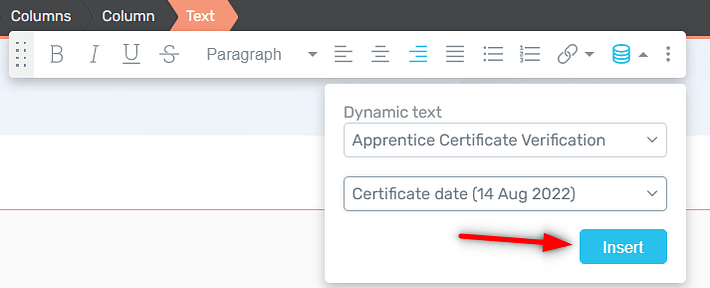
When done, click on “Insert”:
Your dynamic data should now be added to your element:
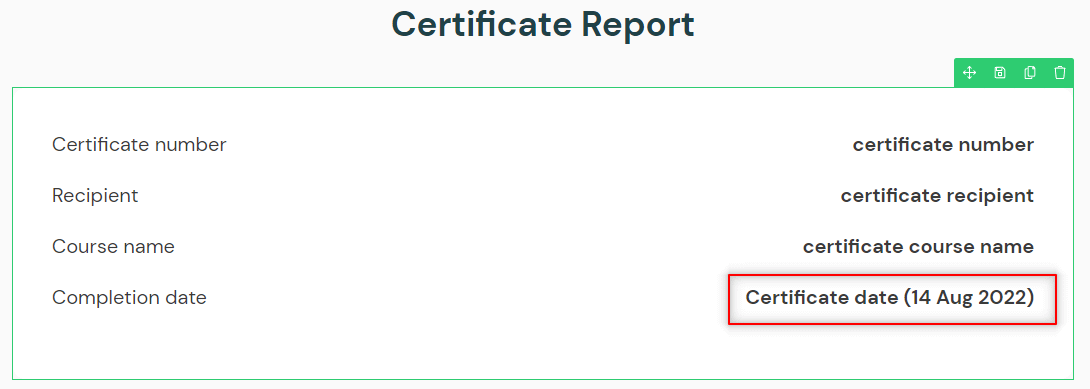
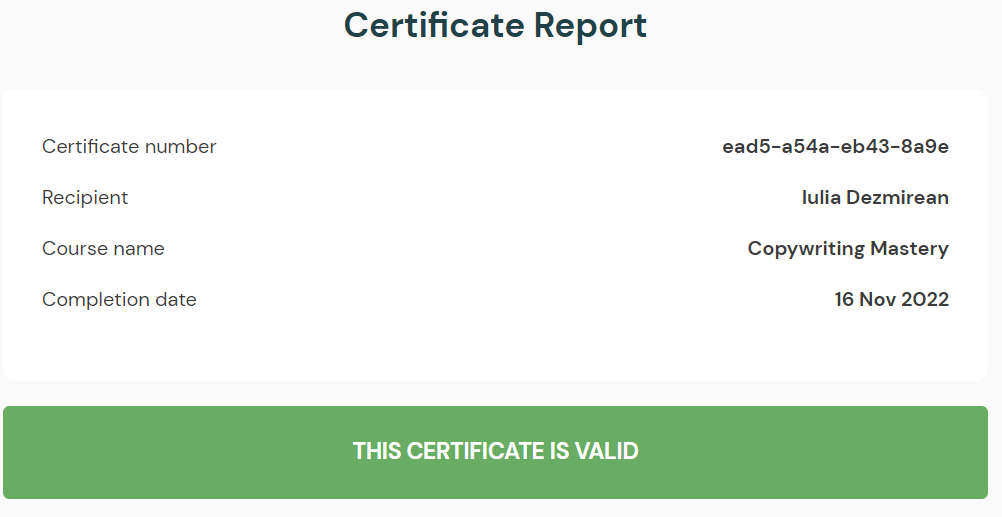
As this is dynamic text, the information shown here will change according to the user for which you are verifying this certificate:
Hopefully, this article was useful to you.
Feel free to check out our knowledge base for more information and ideas on how Thrive Suite products can be used .