You can use the “Carousel Options” to showcase your posts in a dynamic and engaging way.
The “Post List” element comes with a set of display options that allow you to efficiently use the layout of your page. You can use it to display a gallery of posts in a single section and allow the visitor to scroll through them.
Here’s how you can use it:
First, make sure you add a “Post List” element to your canvas:

If you want to find out more about how to use the options that come with the “Post List” element, then make sure to check out this article from our knowledge base:
With the element selected, look for the carousel gallery, in the list of options:
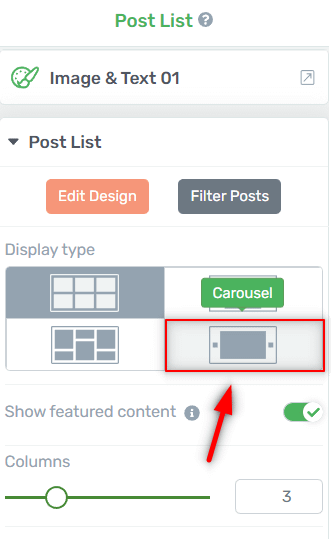
Once you click on it, you’ll see that a new section becomes available in the left sidebar:
Click on it to expand it:
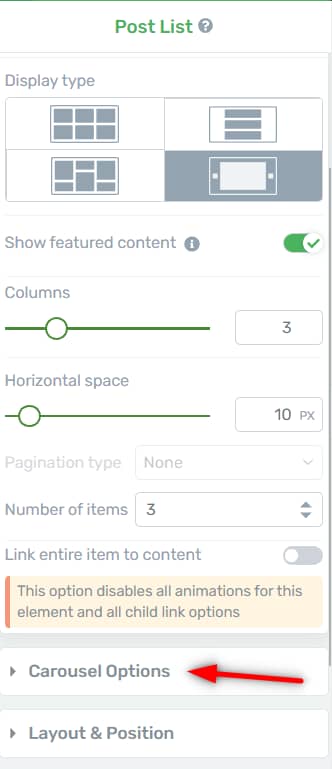
Carousel Options
The options available here allow you to turn your element into an interactive one, as the users are free to scroll through your posts at their own pace.
It can be customized with various features such as auto-play, speed control, slide height, and so on.
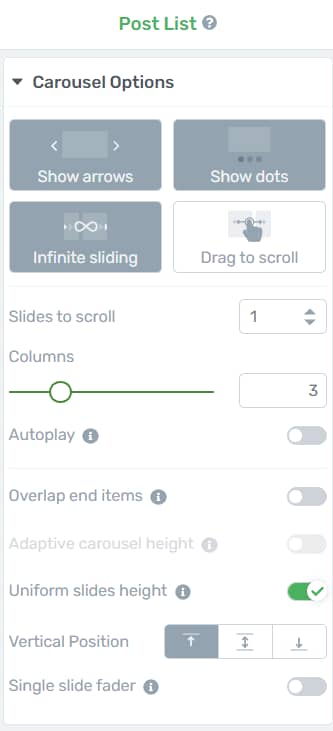
Start by going through the first four display cards.
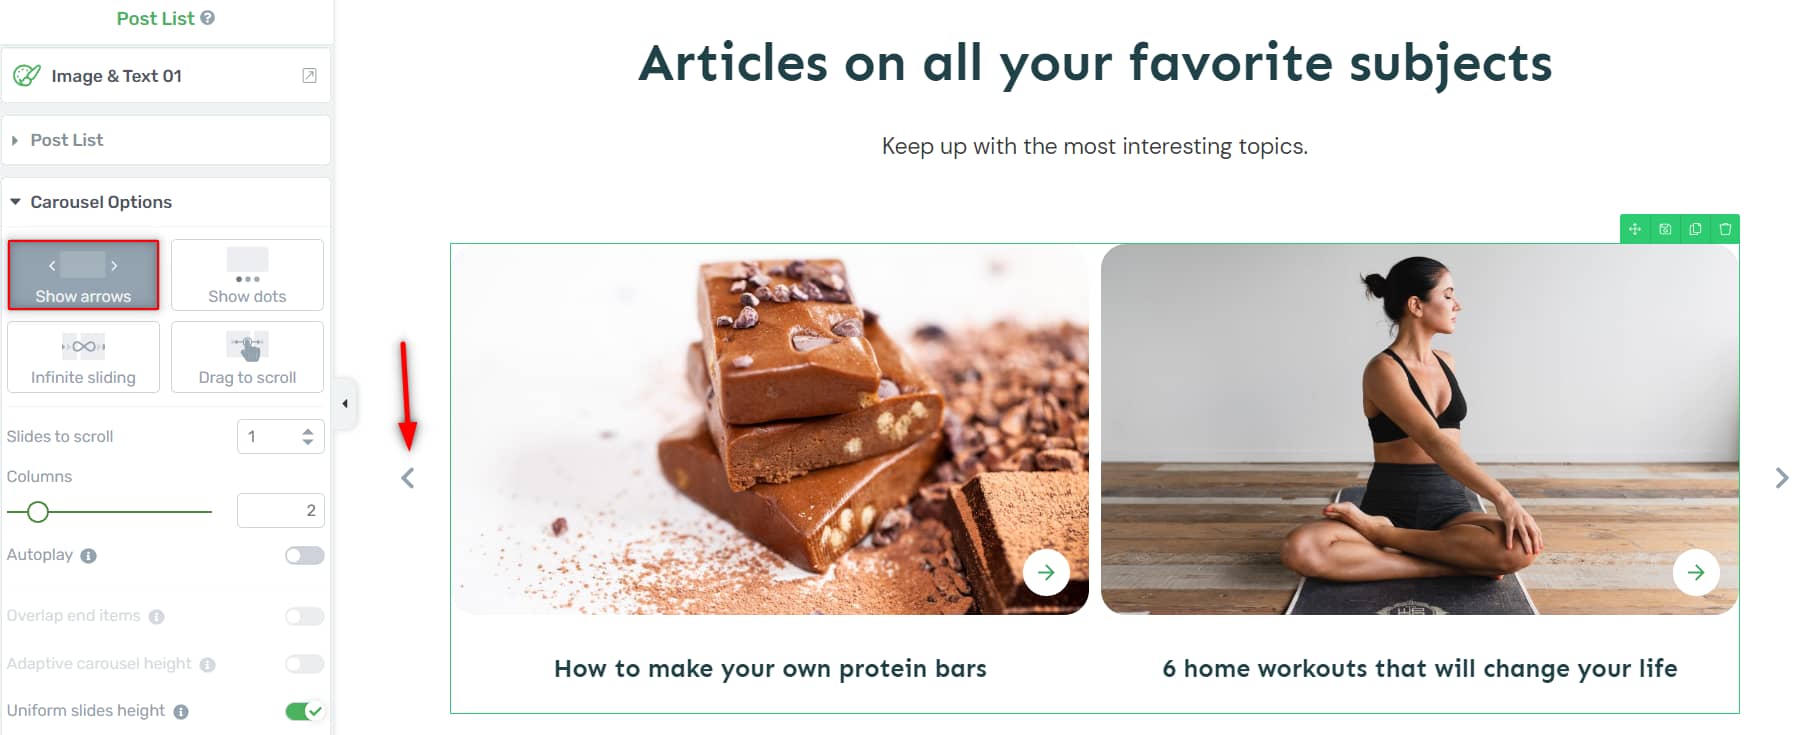
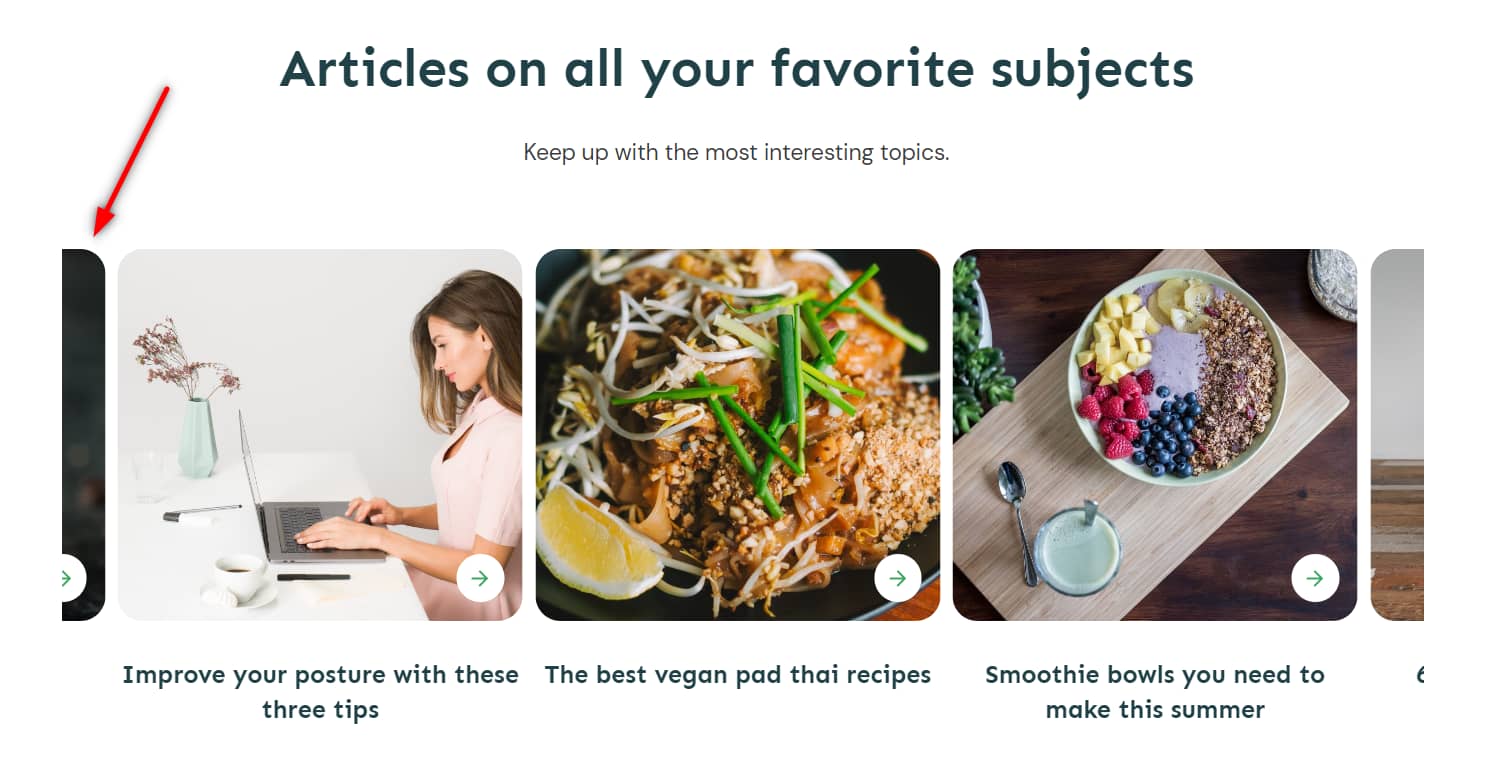
Show arrows
Select this option if you want to have left and right arrows displayed next to your gallery:
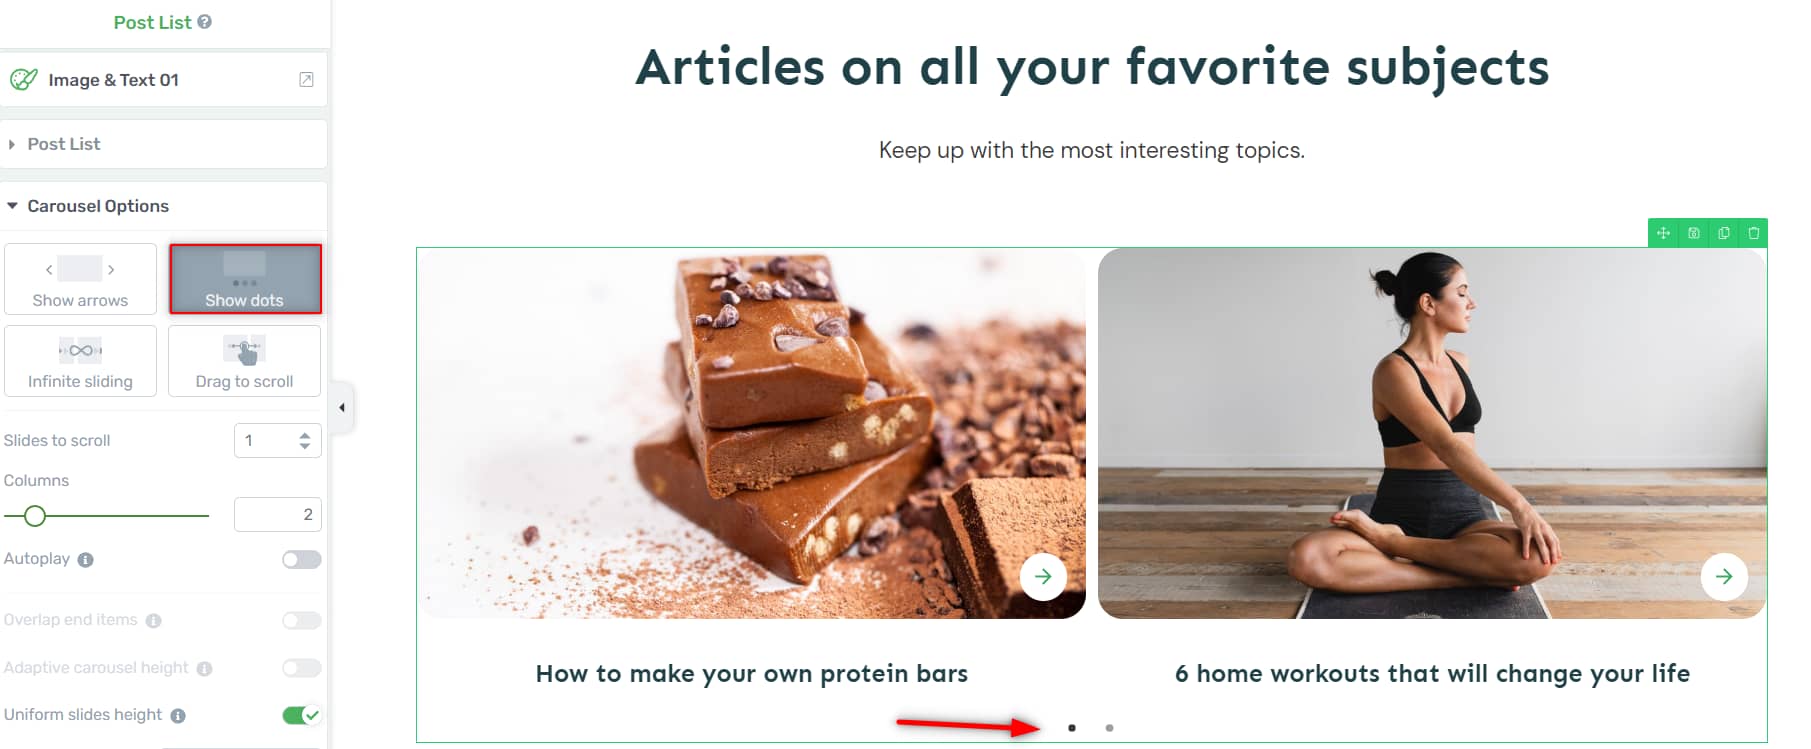
Show dots
Activate this option if you want to have the slide dots displayed under your post gallery:
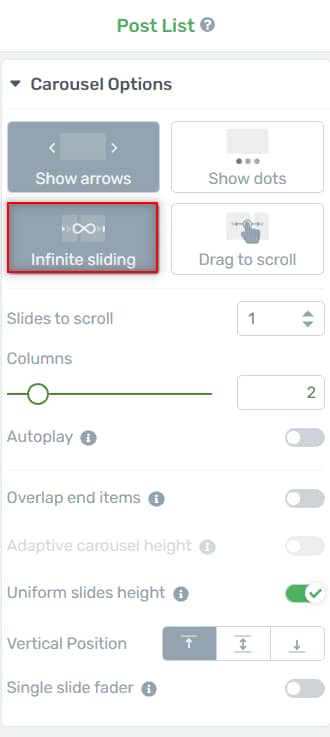
Infinite sliding
With this option selected, you will create an infinite loop, meaning that the slide will start from the beginning each time someone goes through the images and reaches the last one:
Here’s a short video of what that looks like:

Note: As you might notice in the above example, I’ve kept both the arrows and the infinite sliding options enabled, in order to be able to slide through the gallery using the left and right arrows.
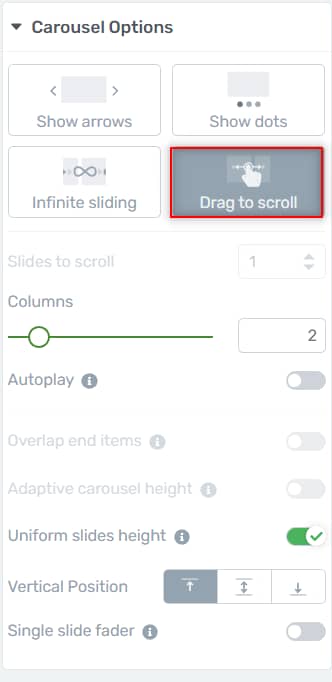
Drag to scroll
This option will allow the users to go through the slides by clicking and dragging them from right to left and vice-versa:
A quick example can be seen here:

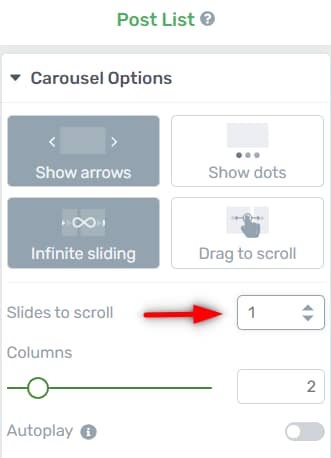
Slides to scroll
With this option, you can select the number of slides that can be scrolled at once. You can add a maximum of 3 slides:
And once you start scrolling through your gallery, you’ll notice that you’ll be able to move two or three slides with one click:

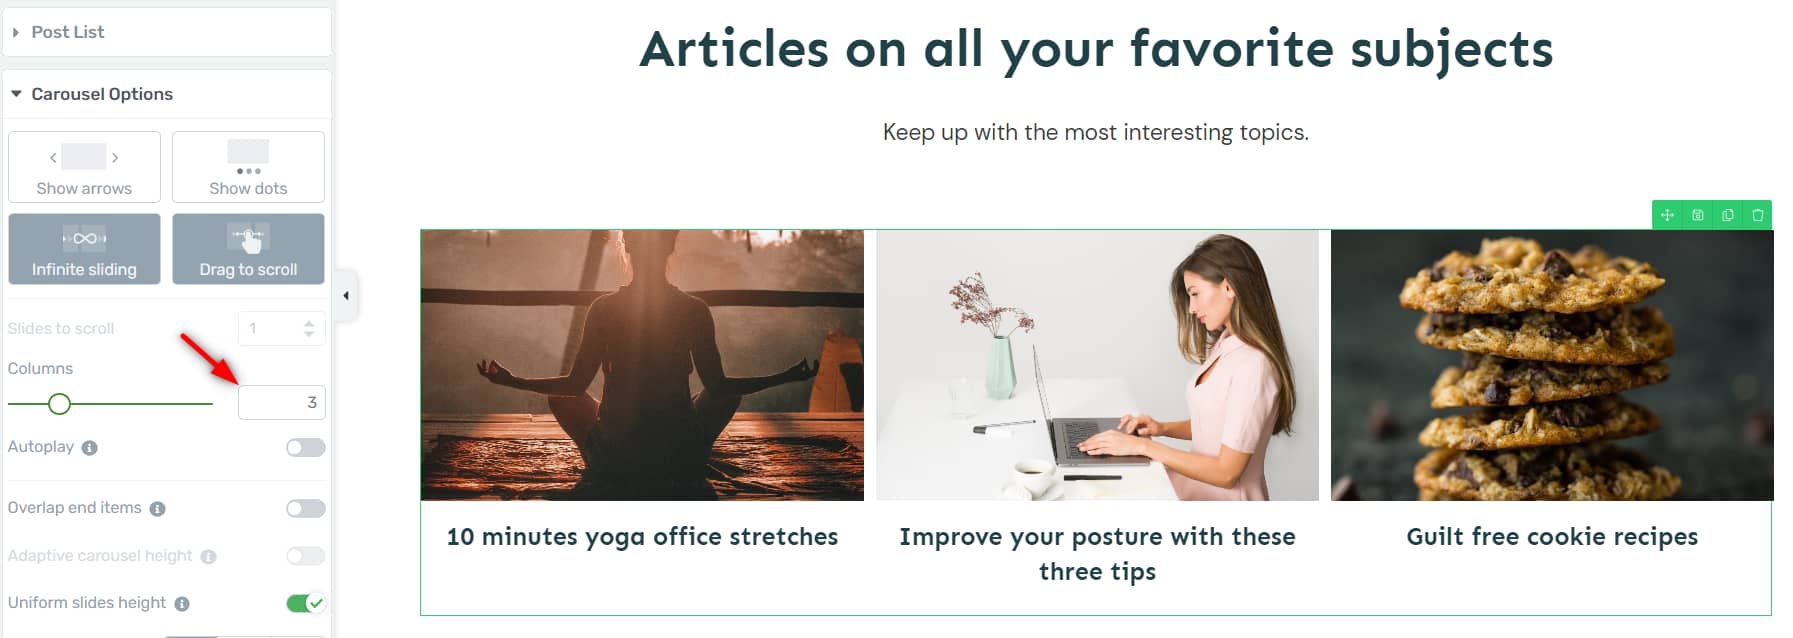
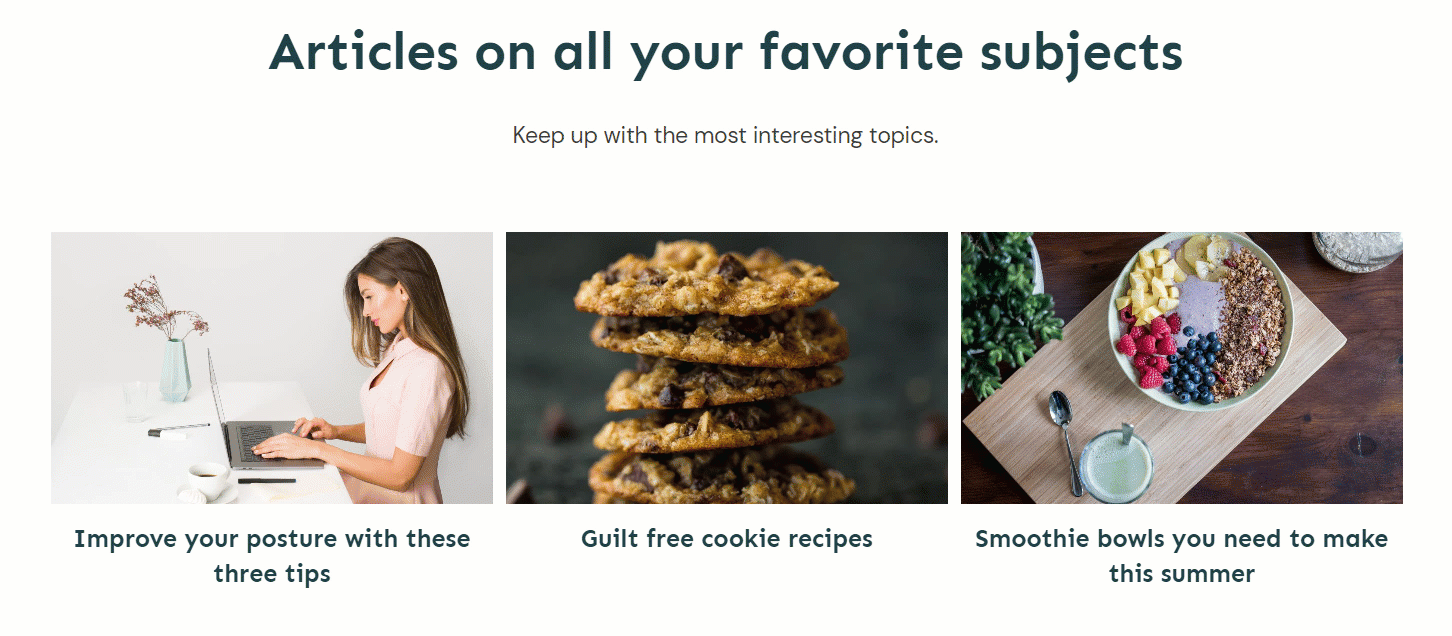
Columns
This is where you can set the number of columns for the gallery:
Autoplay
Activate this option if you want the carousel to start scrolling through the images, as soon as someone lands on this page:
As soon as you enable the toggle, you’ll get these two additional options:
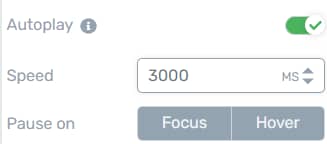
You can use these options to adjust the speed of the slides, as well as how to pause them. You can choose one or the other, or both.
If you choose “Focus”, the carousel will be paused when a post title is clicked on, and the “Hover” option will pause the carousel when someone hovers the mouse over a post.
Here are examples of how each of the pause options works:
on focus

on hover
Overlap end items
With this option active, your gallery will include part of the previous and next set of posts from the carousel:
Note: This option is available only when Infinite sliding is active:
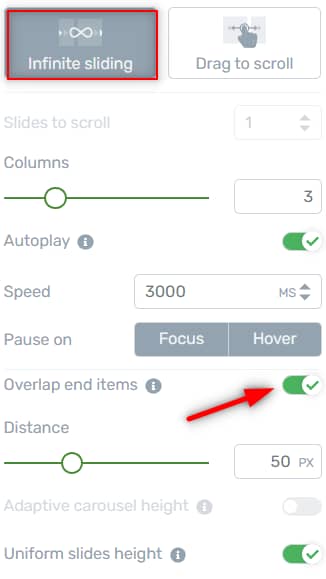
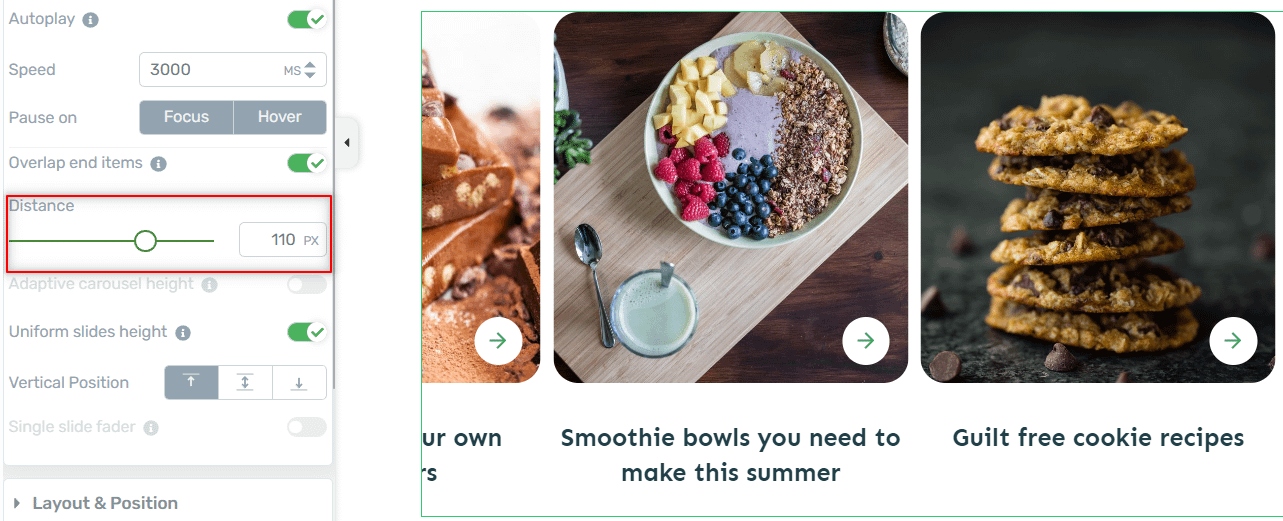
You can also use the “Distance” slider to adjust how much of the previous and next posts will show up in the gallery:
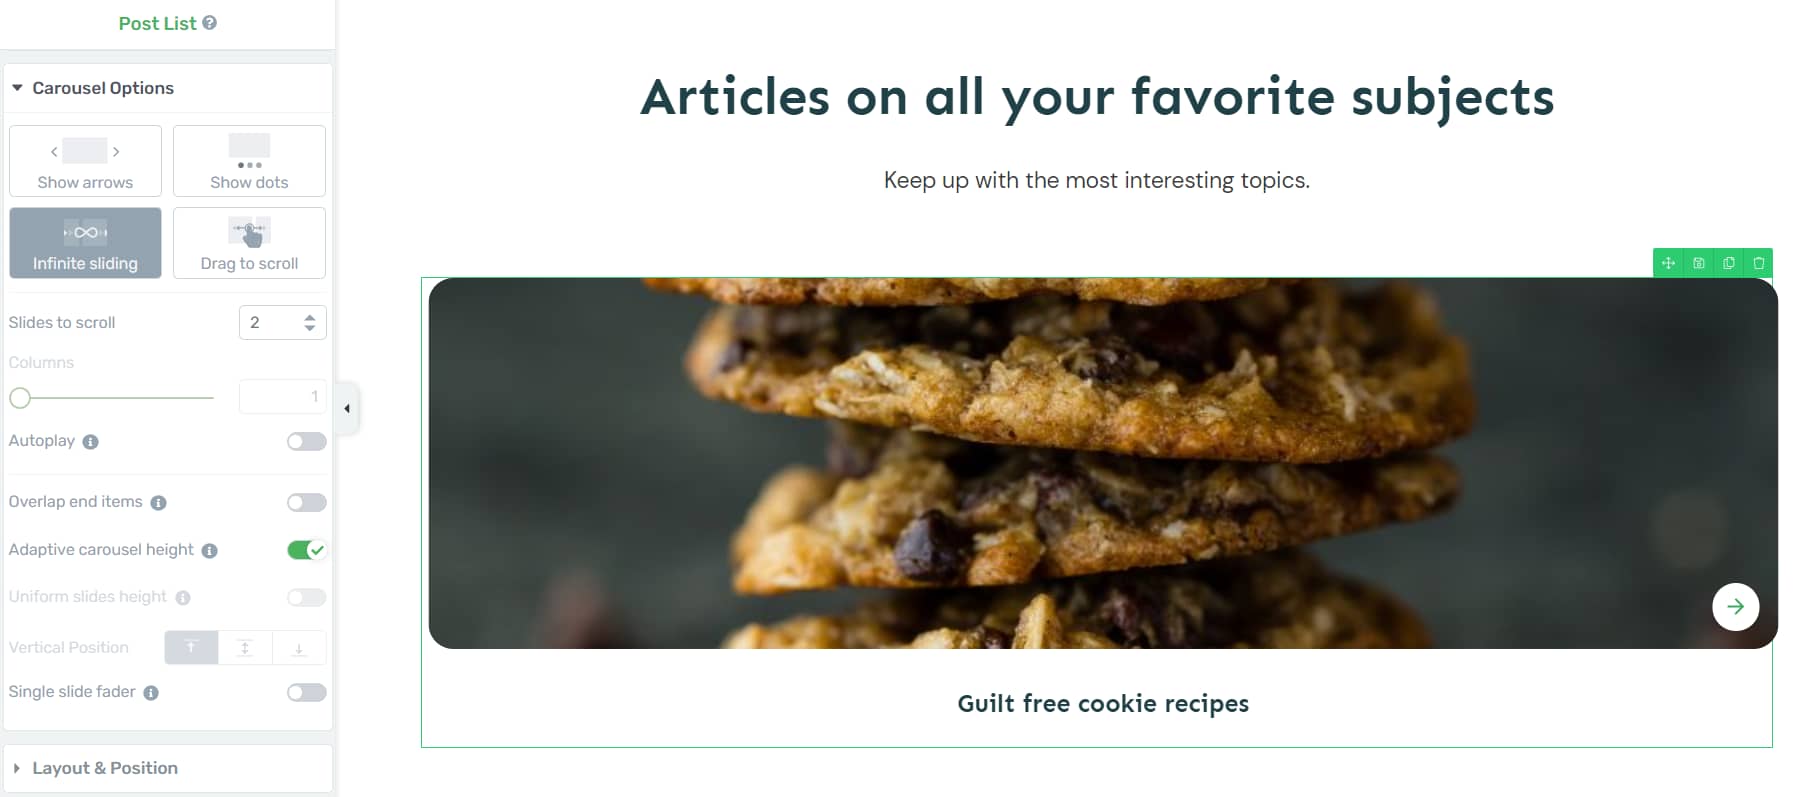
Adaptive carousel height
The next option in the list is the “Adaptive carousel height”. You can use this option only if the “Uniform slides height” one is disabled:
This option will change the number of columns to 1 and will adjust the height of the carousel based on the available content:
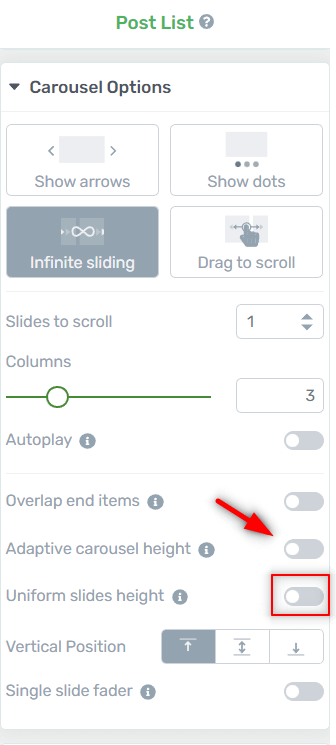
Uniform slides height
This option will ensure that your carousel slides are vertically consistent. You’ll have to deactivate the “Adaptive carousel height” toggle, in order to activate this option:

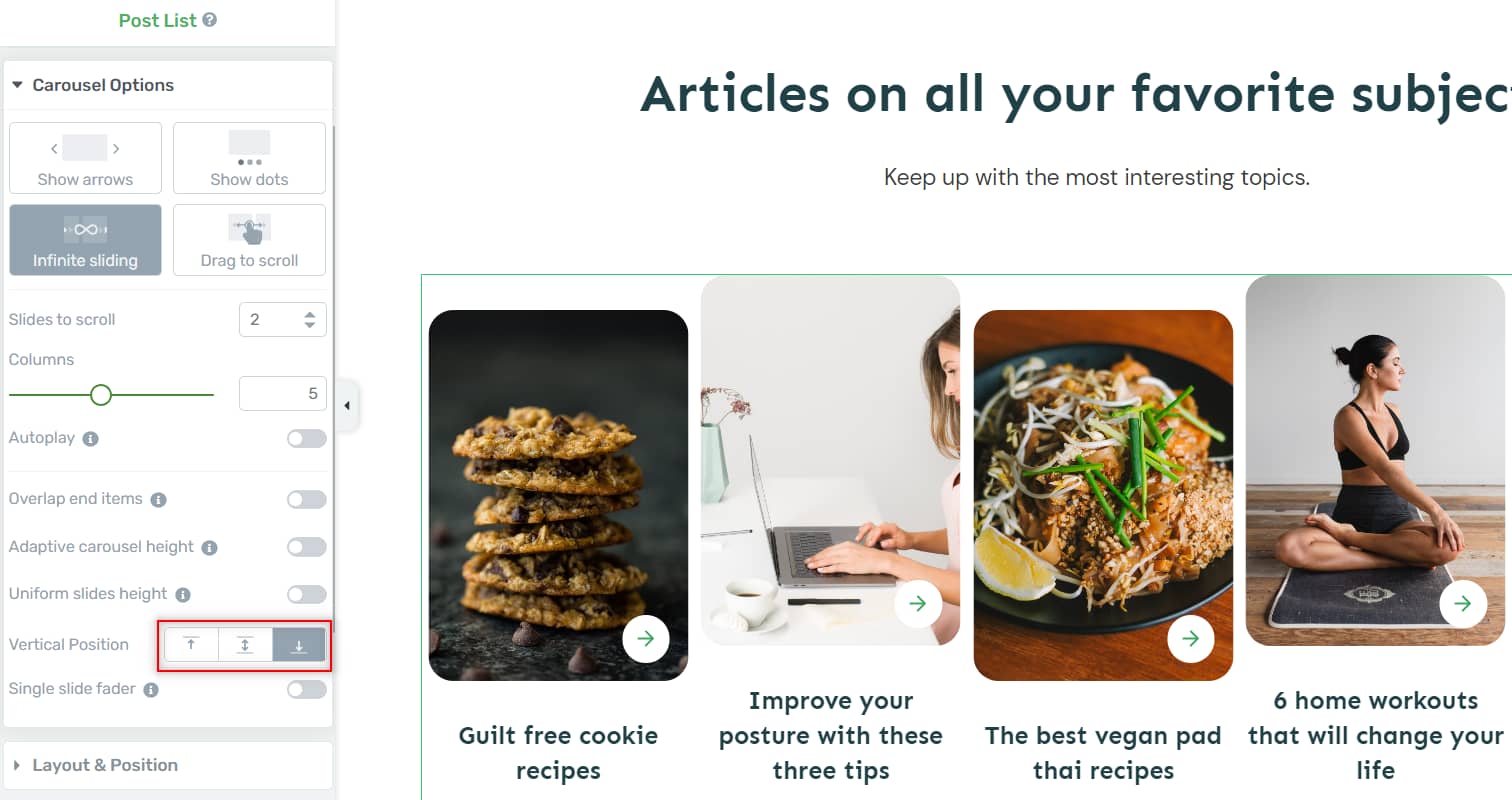
Vertical position
Use these options if you want to adjust how the posts are displayed within the gallery:
Single slide fader
Lastly, use the single slide fader toggle if you want to display one post per slide with a fading transition:

You also get to resize the item using this slider:
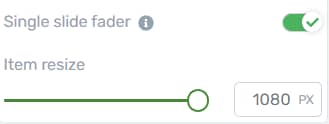
You can make it smaller, and then use the “Layout and Position” options to center the item and it would look something like this:
These are all the options you can use when activating the “Carousel” display type of the “Post List” element.
You can use them to create a gallery with a compact and versatile design, that’s also visually engaging for all users that land on your website. Furthermore can filter the posts that are displayed using the filtering options, as described in this section of the dedicated “Post List” element article.
Hopefully, you enjoyed reading this article. Make sure to check out our knowledge base, if you want to find out more about how to use our products and features.