Creating a link/button that users can tap on to quickly send an email to your service will come in very handy when creating your website.
This article will show you how to achieve that, in both the WordPress editor (Gutenberg), as well as in any of the Thrive editors.
How to Link a “Button” Element to an Email Address
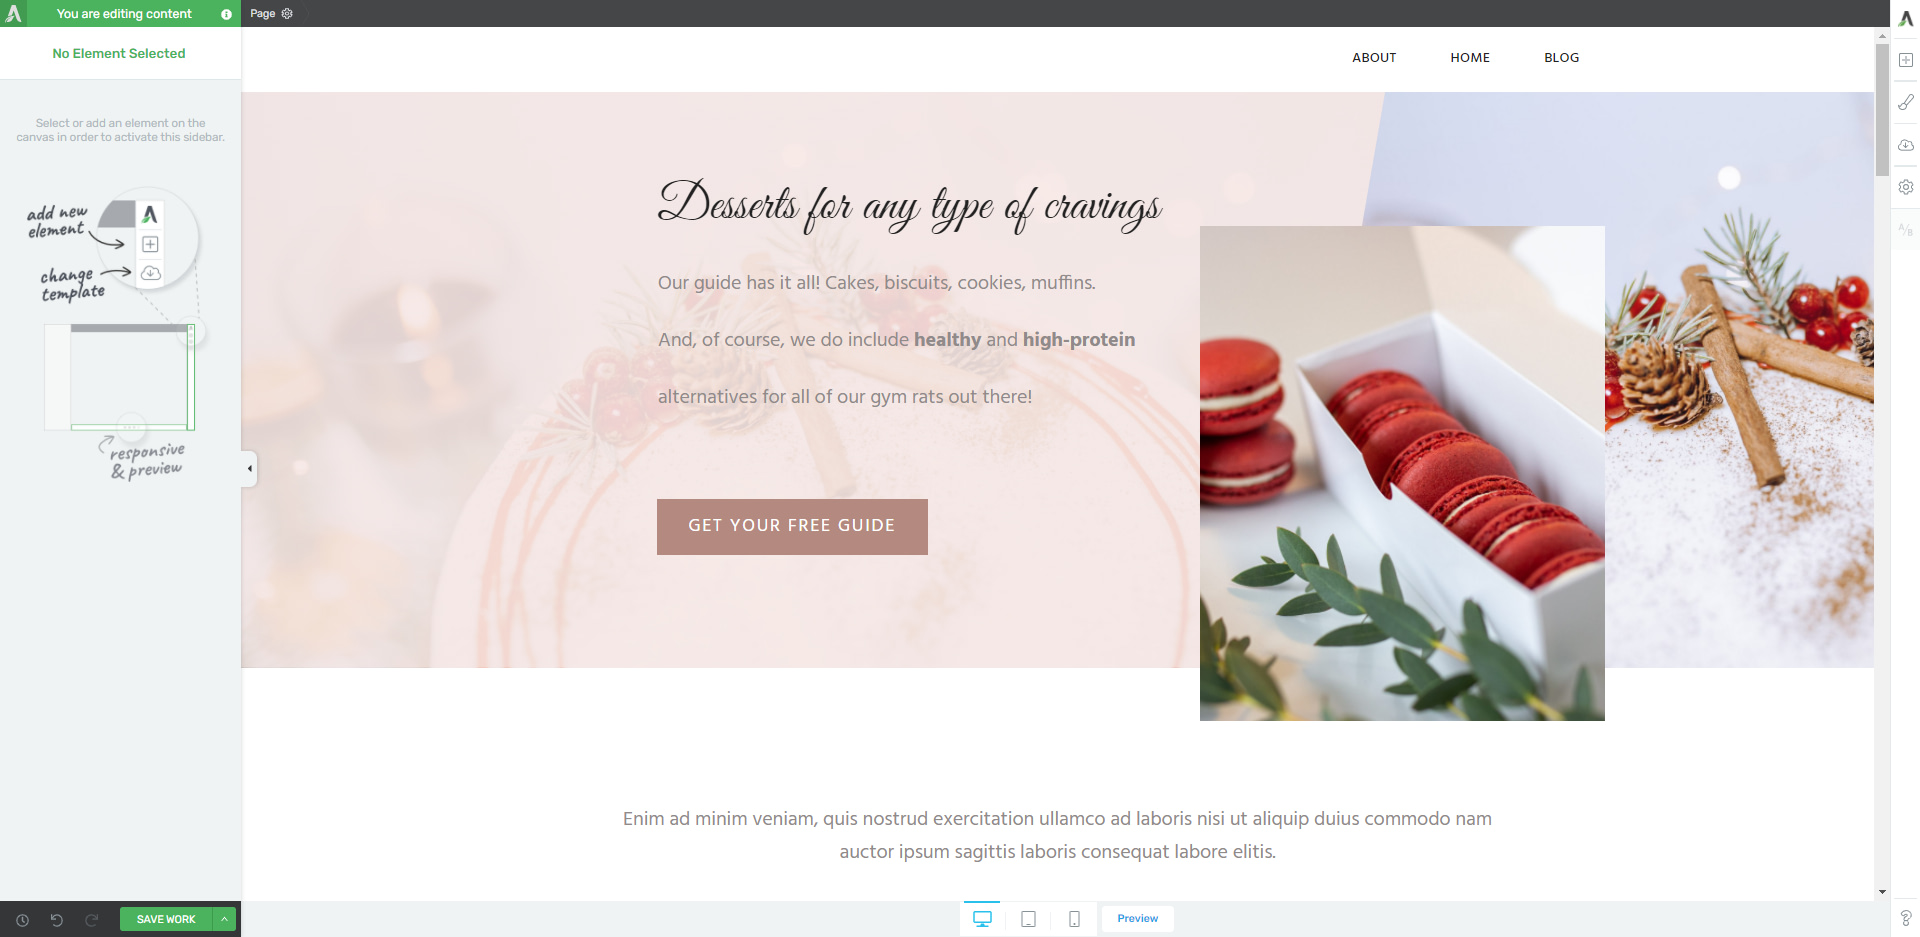
Open the page you want to add the “Button” element to and edit it with Thrive Architect:
Next, go to the right sidebar and click on the “plus” sign:
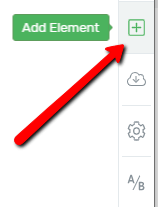
This is where you can add a new element to your page. Scroll down to the “Button” element or look for it in the Search Bar:
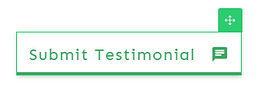
Drag and drop the “Button” element where you desire:
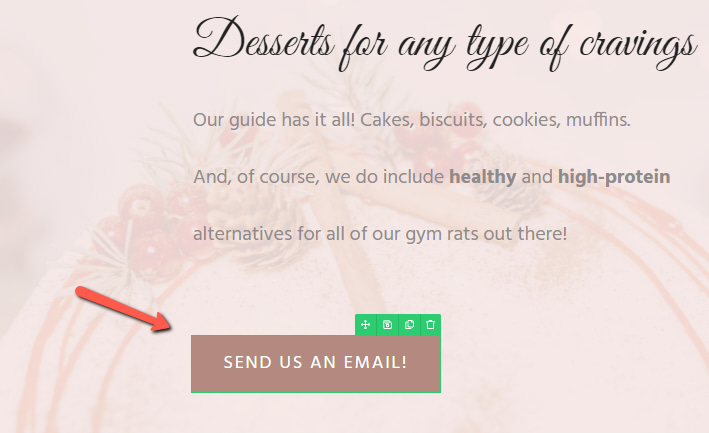
The element options will appear on the left sidebar.
You will find the Main Options which you can use to customize the element as you wish (change the color, style, font or size, etc):
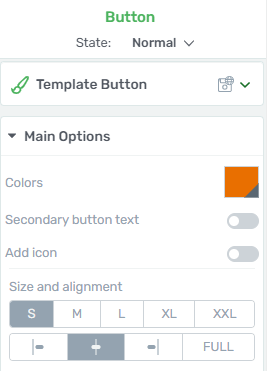
This article goes more in-depth on how you can use and customize the element. Take a look at the “Main Options” section. The “Button Link” option is the one we’ll be working with:

Make sure the “Static link” option is selected. The other two available options are “Jump link” and “Dynamic link”, but we only need the static one in this case:
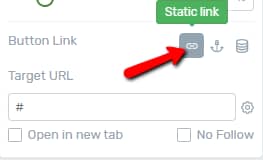
Below the “Static link” option you will see the “Target URL” field that you need to use:
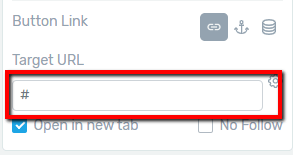
You will see a “#” symbol in the “Target URL” field. Make sure to delete it before going further.
The “Target URL” field is where you have to write “mailto:“, followed by your email address.
Here is an example of how this should look like: mailto:username@companyname.com

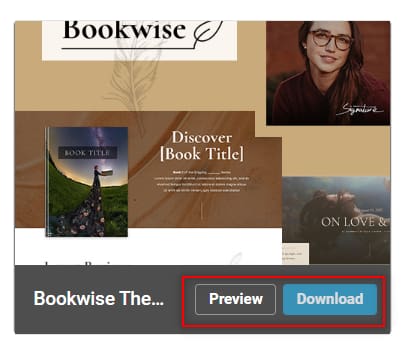
Now save the changes with the “Save Work” button from the bottom left corner of the page. Then open the “Preview” mode found on the bottom-center part of your editor in order to test and see if the button works properly for your users:
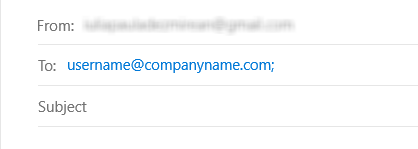
In “Preview” mode (or on your mobile phone/tablet), click on the button you’ve just created. If this is the first time such an action is performed on your PC, you will see a pop-up that will ask you to select the email platform you want to open.
This depends on what platform you have installed on your PC. Once you choose the platform you want to send the email from, a new email window will open.
If, on the other hand, you already have an email platform previously set and selected on your PC, then the button will go straight to the new email window:
This is how you can easily link a “Button” element to an email address and offer users a way to contact you faster.
How to Link a “Text” Element to an Email Address
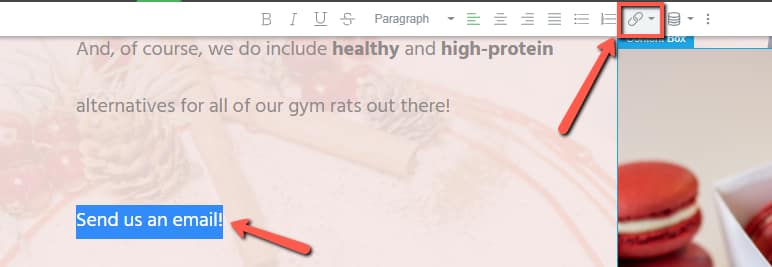
Similarly, you can link any “Text” element to an email address, in the same manner. Simply select the text to be linked and go to the top panel, where the “Link” option can be found:
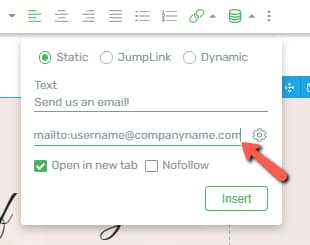
And, just as you did in the case of the “Button” element, enter the “mailto:username@companyname.com” syntax in the “URL” field:
Click on “Insert” to save the link:
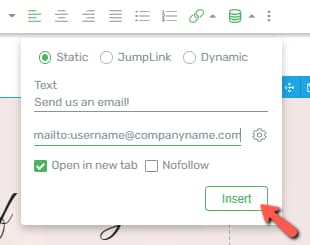
Save the page and you’re all done!
If you want to find out more about various elements using Thrive Themes, check out our knowledge base.
Also, you might be interested in reading these two related articles:
-
How to Link a “Button” Element / “Text” Element to a Phone Number
-
How to Autofill a Text Message by Linking an Element to a Telephone Number
I hope this article was useful. If that’s the case, share a smile below! 🙂