You can use the WooCommerce add-ons in Thrive Theme Builder to customize your products and have a great variety of options in your online store.
In this article, we will have a look at how you can use the “Product Add-Ons” extension from WooCommerce on your website, and also, how you can edit in Thrive Theme Builder the fields created with this extension.
These add-ons come in handy if you want to display multiple choices on your product page, and you can also set different prices based on the customer selection. They basically allow the customers to personalize products, make special requests, and so on.
The types of add-ons that will support design editing on fields are:
- short text
- long text
- multiple choice (dropdowns and radio buttons)
- checkboxes
First, let’s have a look at how you can access these add-ons.
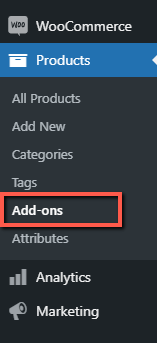
Access the Add-ons Section
After you’ve installed the extension, you will find it as a separate section in the left sidebar of your WordPress admin dashboard:
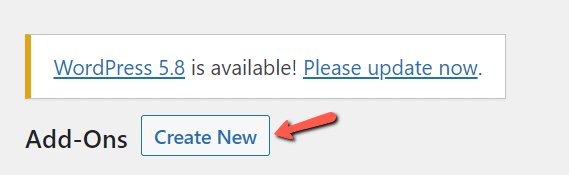
Open “Add-ons” section and click on “Create New”:
Next, give a name to your add-on group and click on “Add Field”:
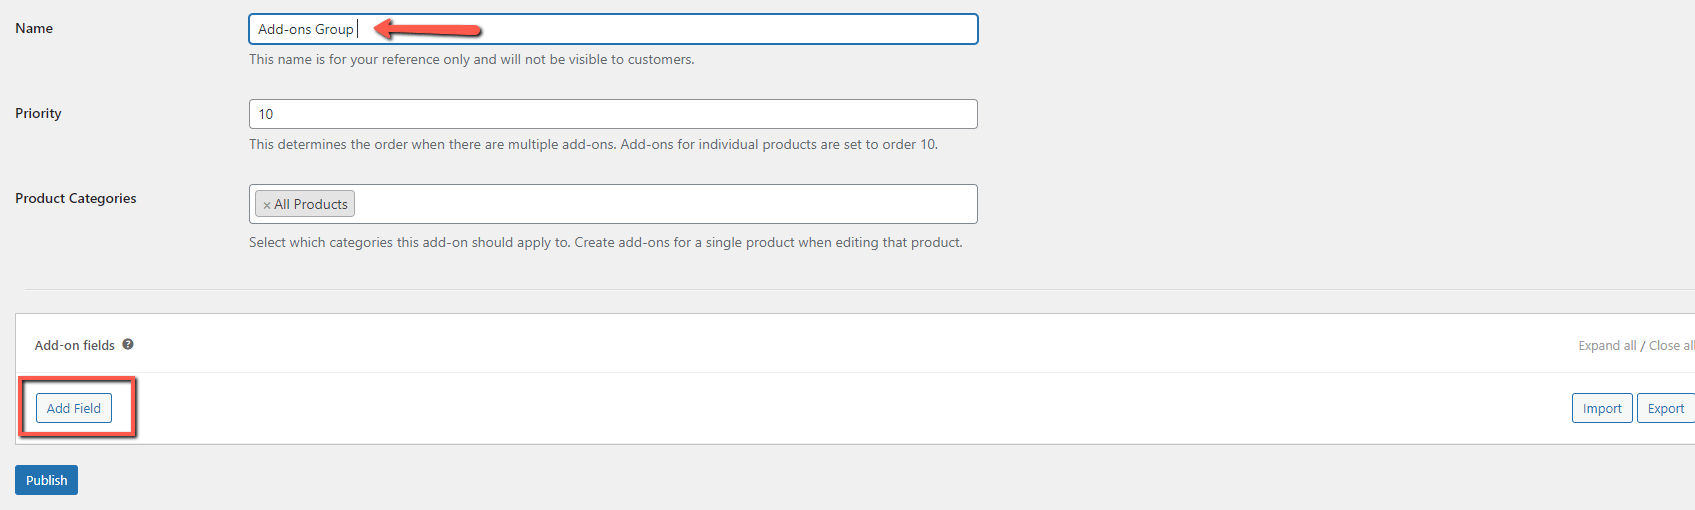
The “Priority” and “Product Categories” fields come with some predefined settings, but you can modify them if you want.
You will next be able to select the type of fields that you can use to customize your product as well as make other configurations:
We will have a look at each option that also supports design editing in Thrive Theme Builder.
Select the Field Type
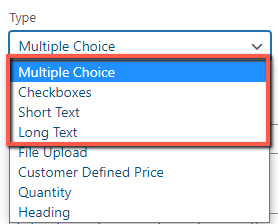
First, open the “Type” drop-down field, in order to decide what type of field you would like:
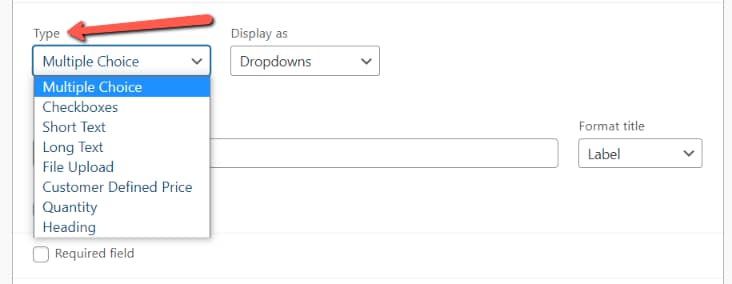
Just as mentioned above, Thrive Theme Builder supports editing on the first four fields from this list:

Let’s have a look at how you can use each of them:
Multiple Choice
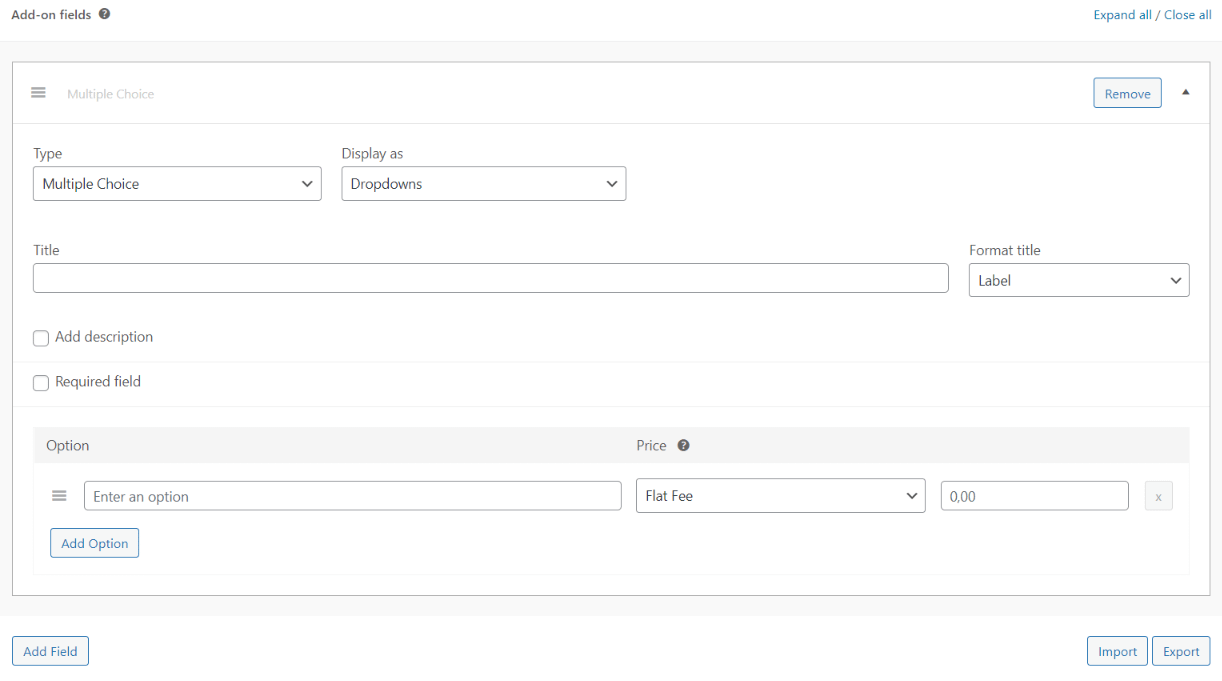
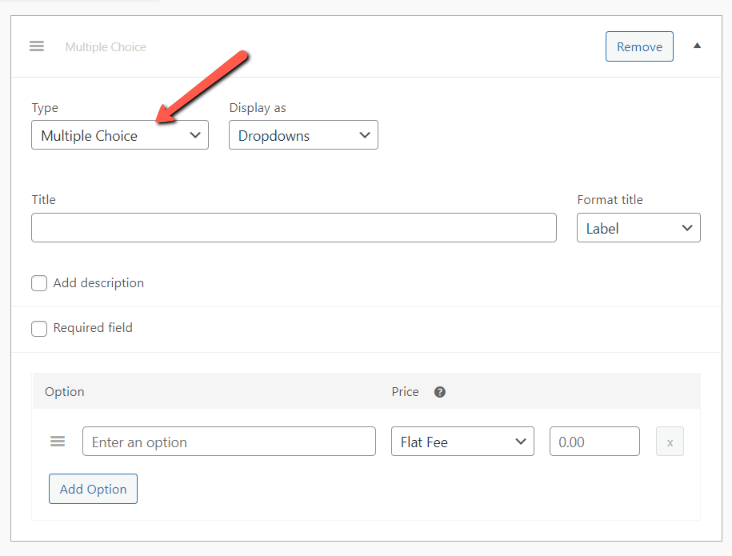
If you have a product with several variations, then the “Multiple Choice” option might come in handy:
After you select the “Multiple Choice”, you will also have to decide how you would like to display them. You can display them as a dropdown list, radio buttons, or as images:
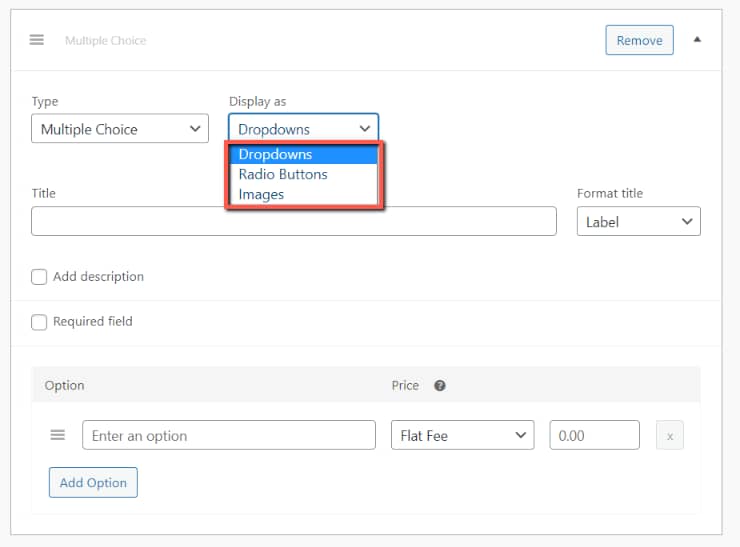
Thrive Theme Builder only supports editing on the first two categories, the “Dropdowns” and “Radio Buttons” ones, do these are the ones that will be explained below.
- Dropdowns
If you select this option, then the visitors will see the options in a dropdown list.
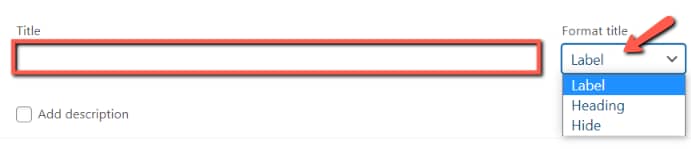
First, give a title to your add-on field: (this is a mandatory step) and decide how you would like to format it, by selecting one of the available options:
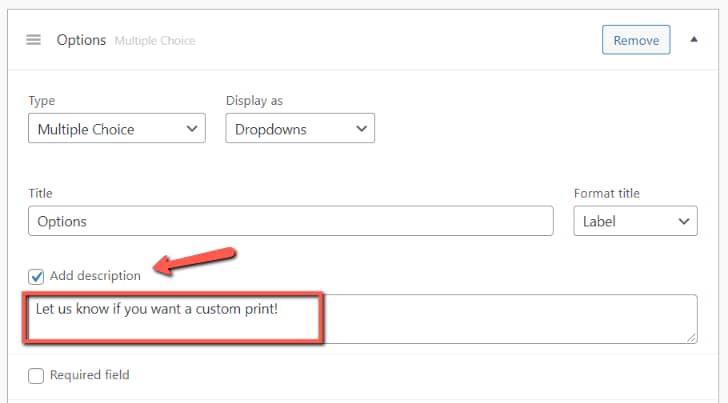
Next, you can add a description for the field, if you want, by checking the box next to “Add description”:
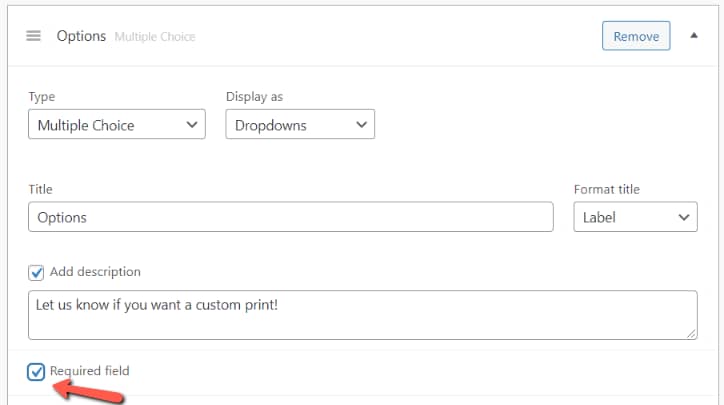
And you can also make it a mandatory one if you want:
Next, go ahead and add your variations in the “Option” section:
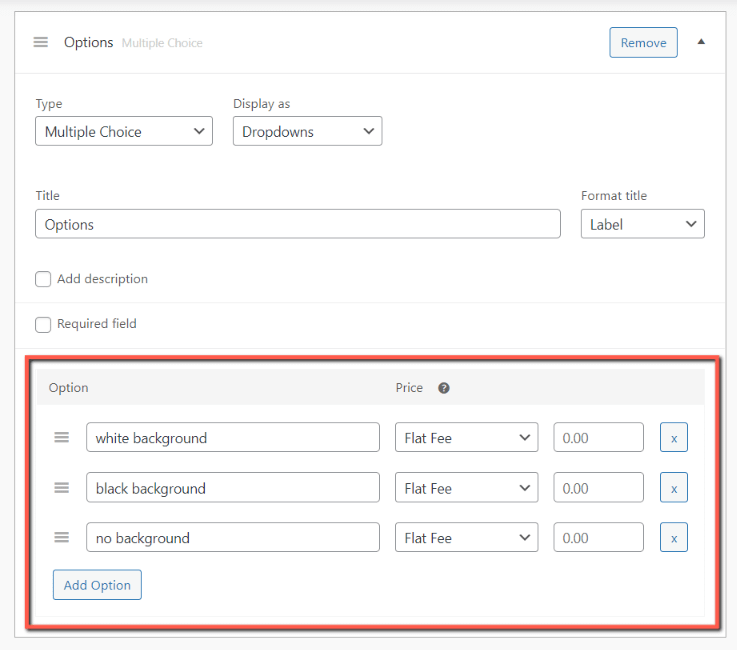
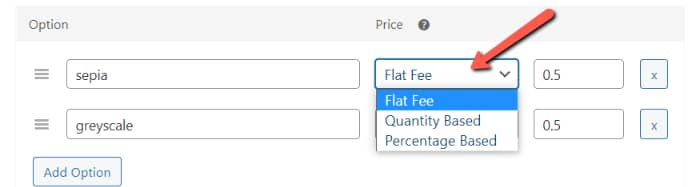
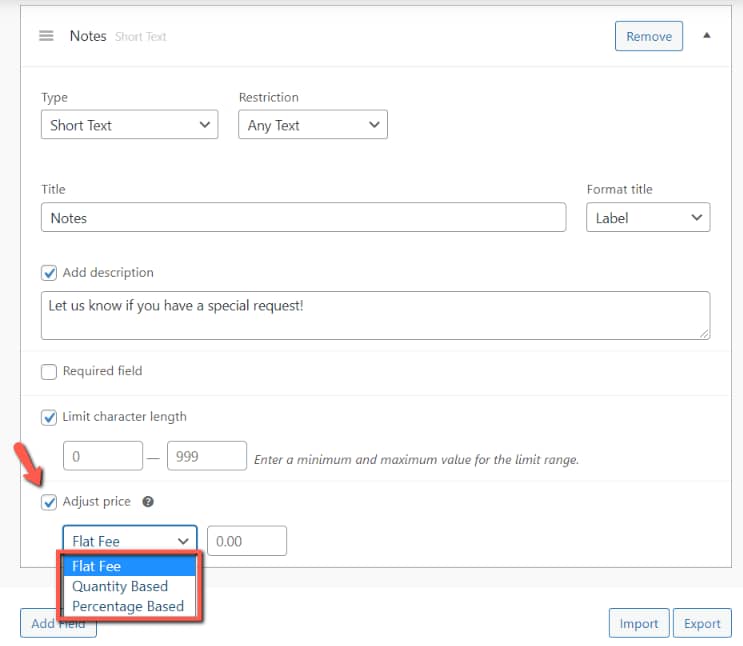
In the “Price” column, you can use the available options to adjust the price:
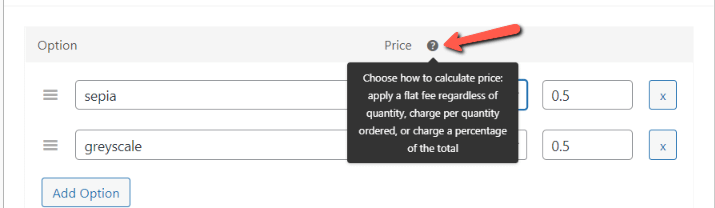
You can keep the regular price regardless of quantity, or you can charge based on quantity or simply charge a percentage of the total. You can use the field next to the dropdown to enter the exact amount:
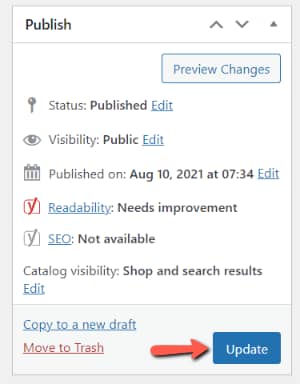
When you are done making all the configurations, click on “Update”:
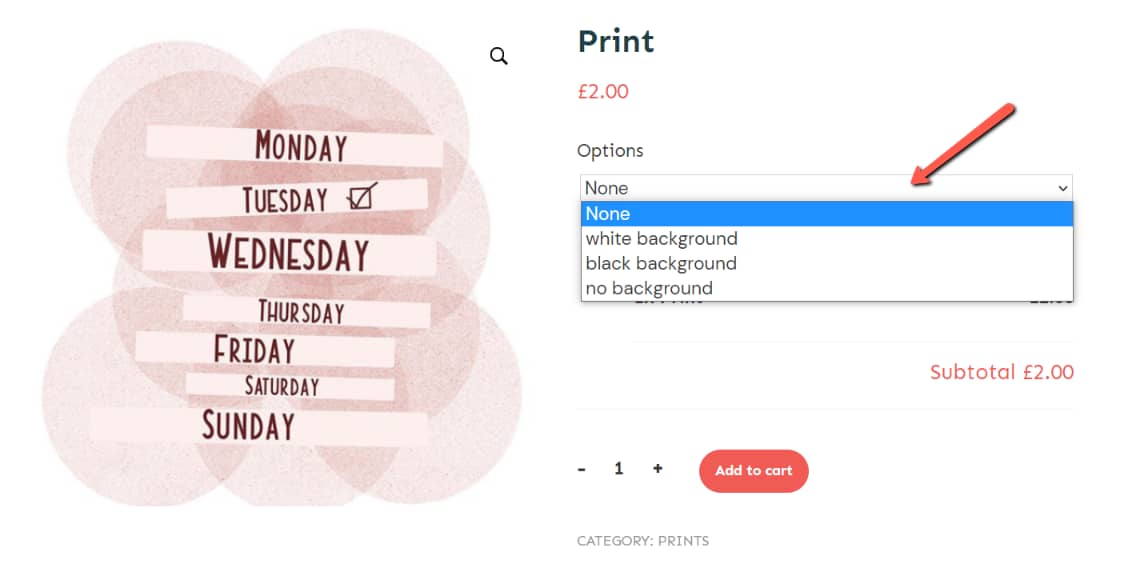
This is how the options you set here will be displayed in your online store:
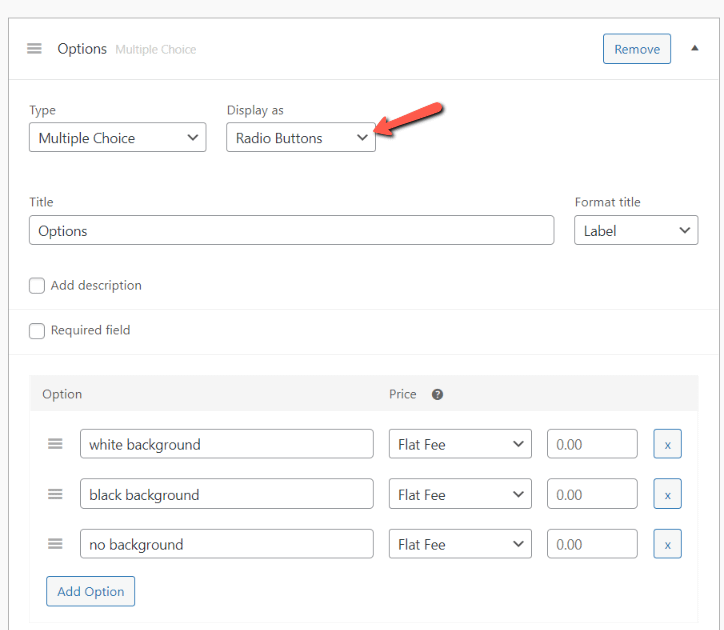
- Radio Buttons
Next, if you want, you can use radio buttons instead of a dropdown list. Select the “Radio Buttons” from the list and then make additional configurations, just as already explained above:
The end result will look like this:

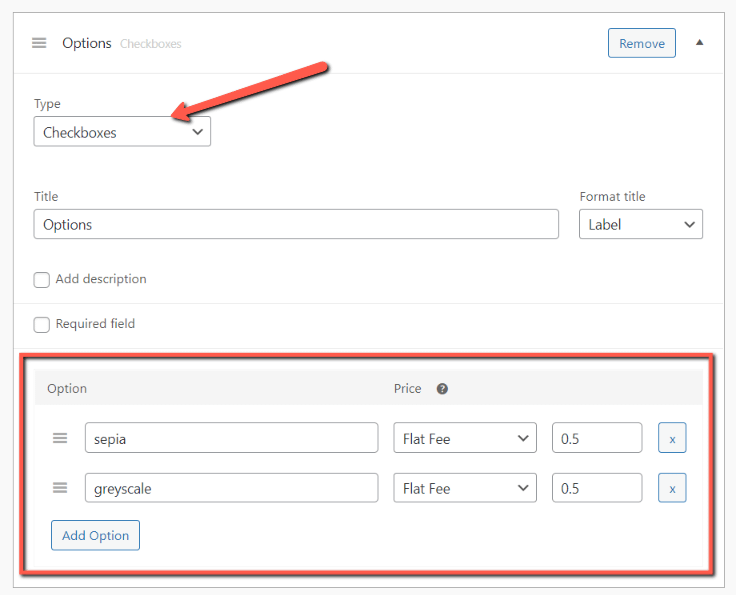
Checkboxes
If you opt for checkboxes, then the process is pretty similar. You simply have to select it from the list and make the necessary configurations:
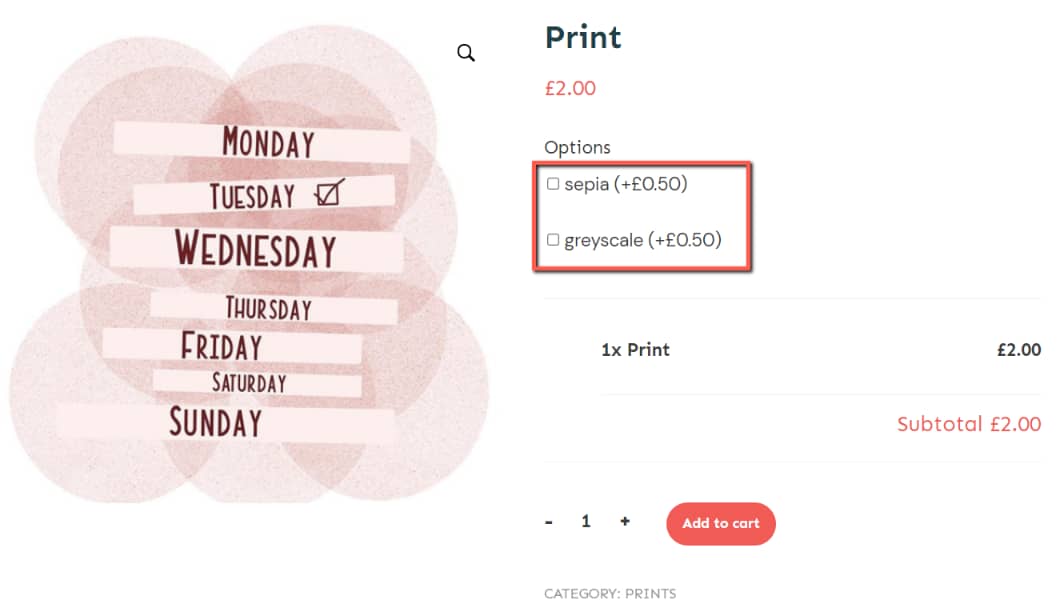
Naturally, the options will appear as checkboxes, in your online shop:
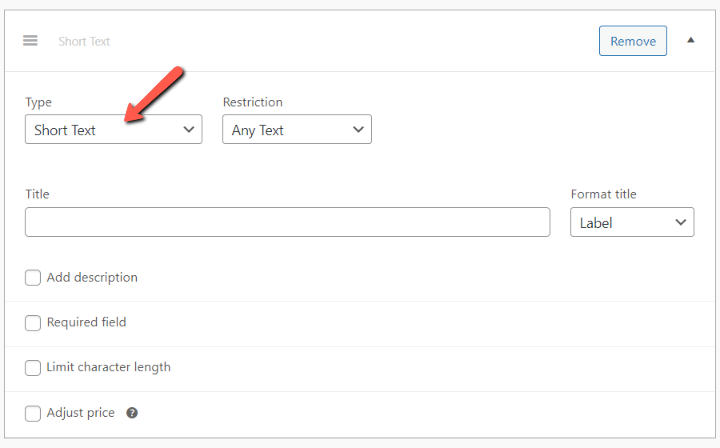
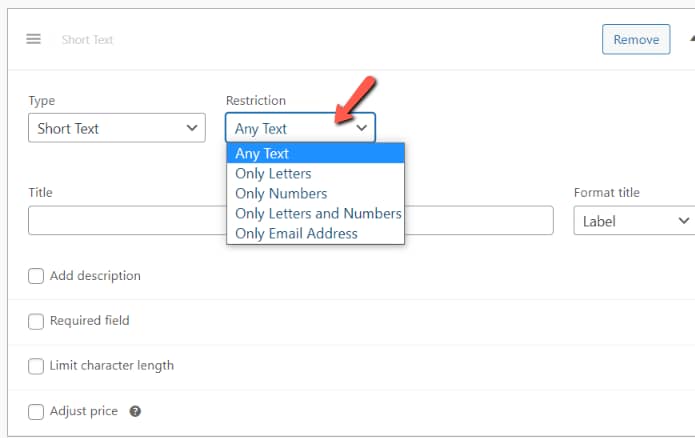
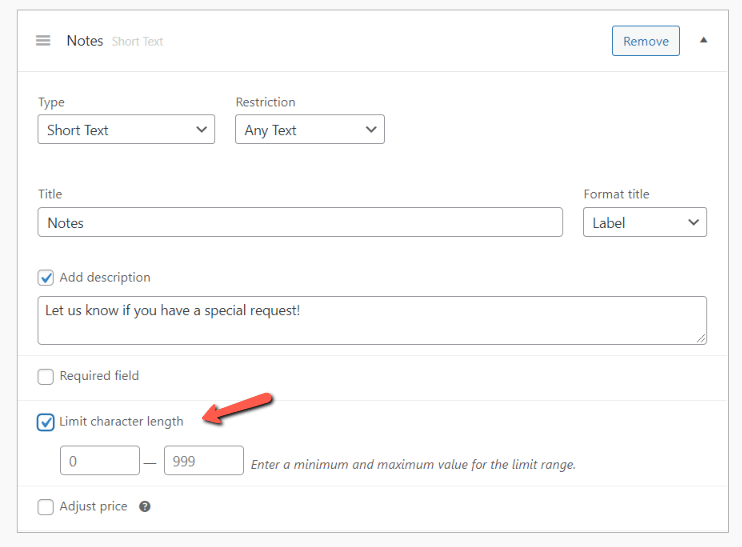
Short Text
The “Short Text” field will allow you to add a description to your product:
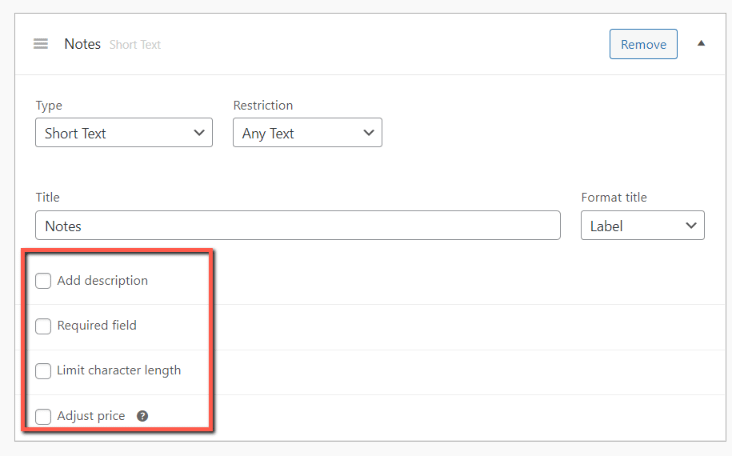
You will have to decide what type of characters can be typed in the text field:
And also, make some additional configurations from the checkboxes located under the “Title” field:
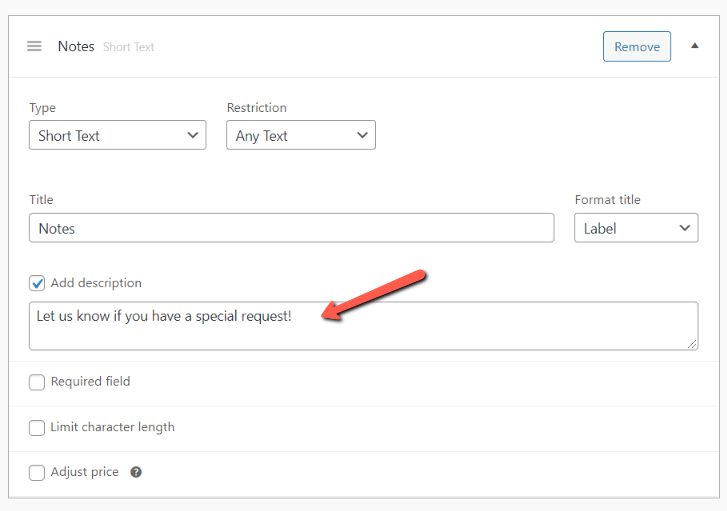
Just as described above, if you check the box next to “Add description”, then you will have this section where you can type a description for the field:
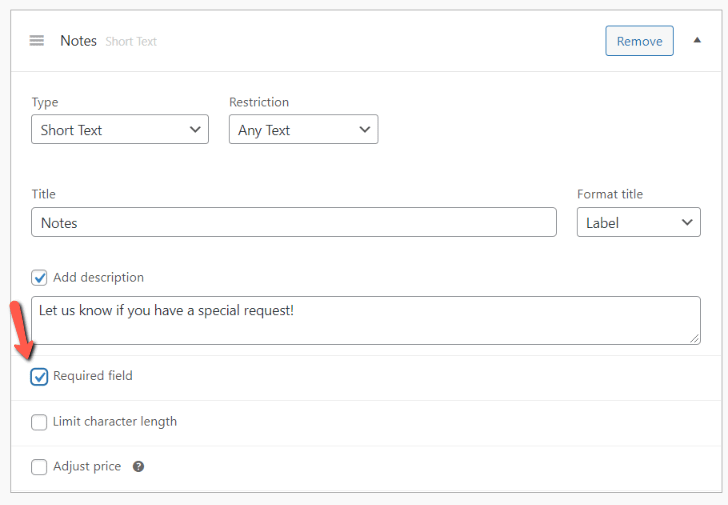
Next, you can make this field a mandatory one if you want:
And you can also limit the number of characters that can be typed in the field:
Lastly, here as well you can adjust the price based on the customer selection:
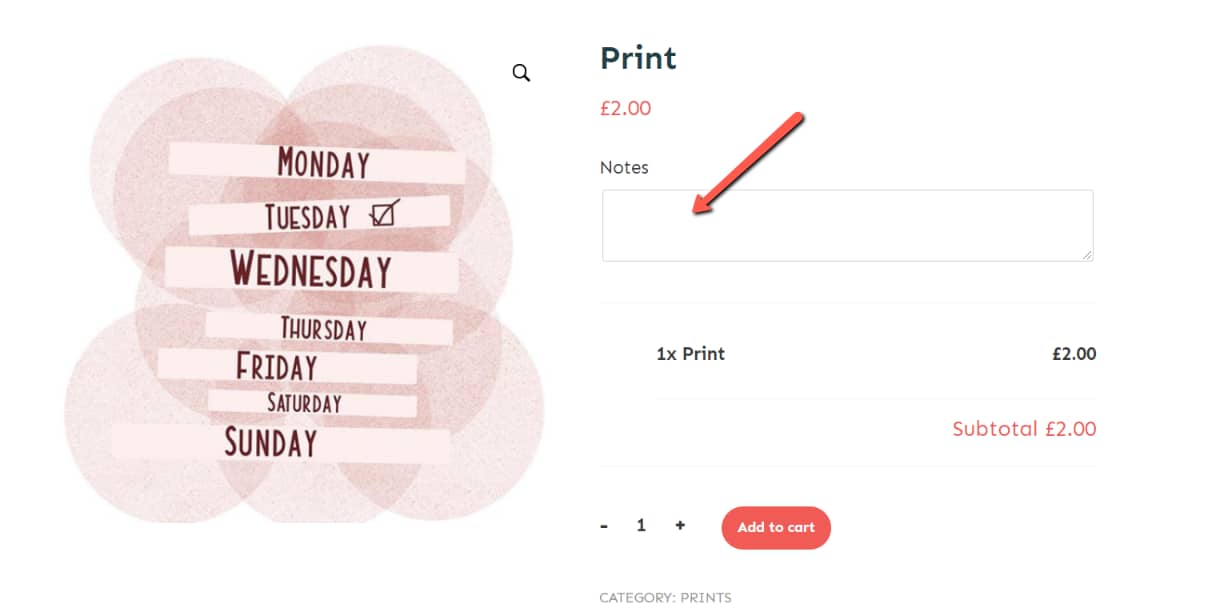
Here’s how the text field would look like on the front end:
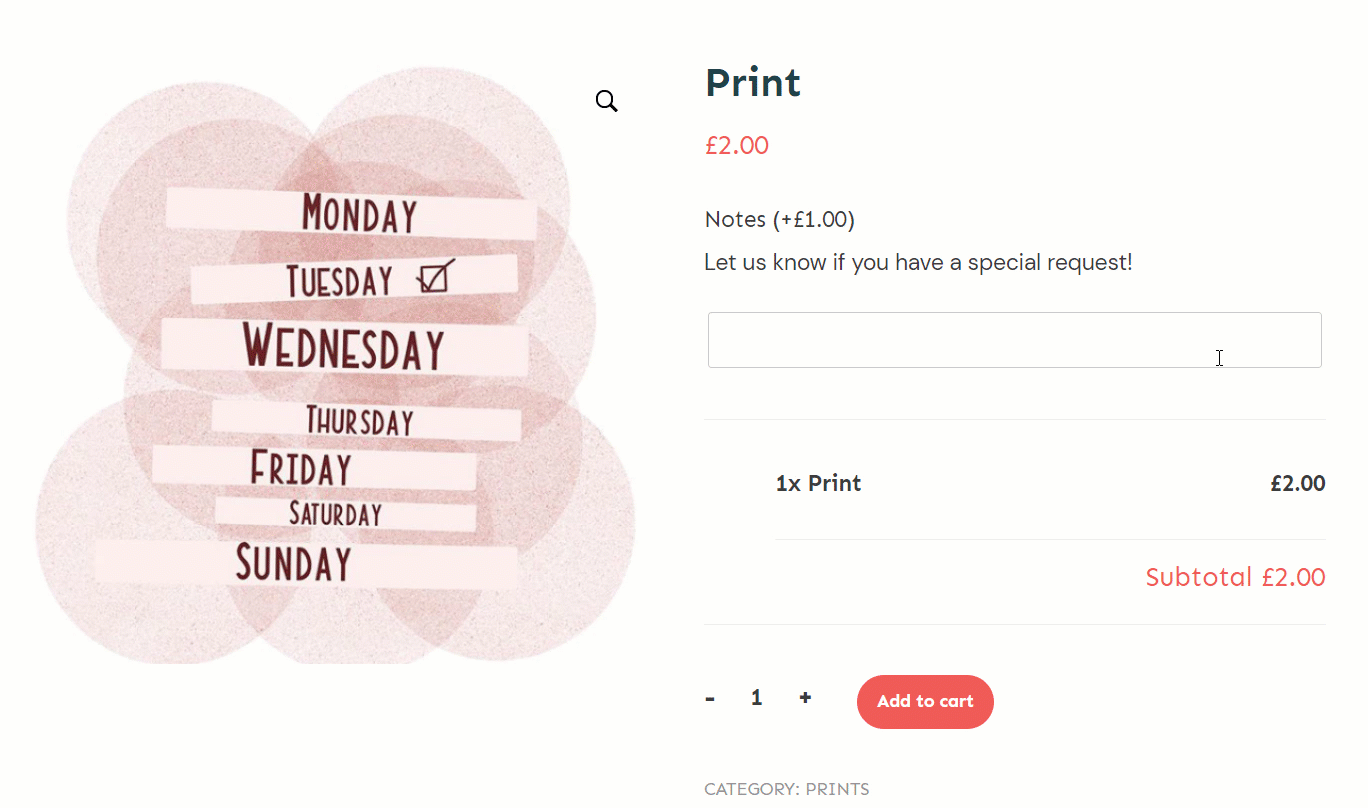
In the above example, I’ve created a field that the customers can use if they would like to order a custom piece, for example.
Since I’ve also enabled the “Adjust price” feature, any special request typed there by the customers will be charged with the amount I’ve set when configuring the product.
Long Text
The “Long Text” field works just like the “Short Text” one, and the options you can use here are identical:
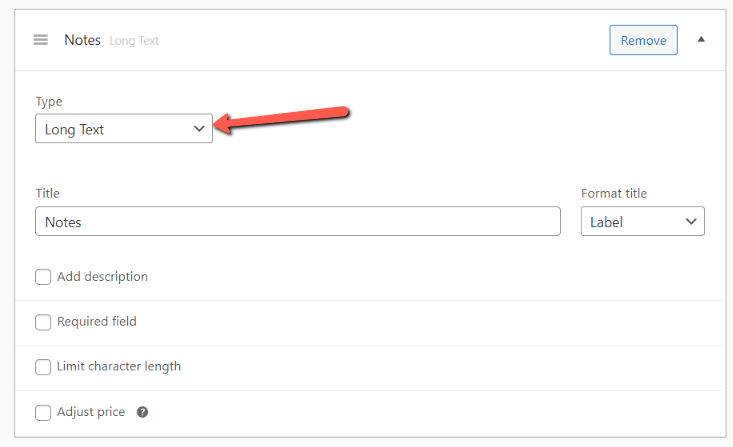
The only difference is the field size:
This is how you can use the WooCommerce “Product Add-Ons” extension to customize the products available in your online store. Now let’s have a look at how you can edit them in Thrive Theme Builder.
Note: If you want to use this extension on just some products and not on all of them, as showcased above, you can do that as well.
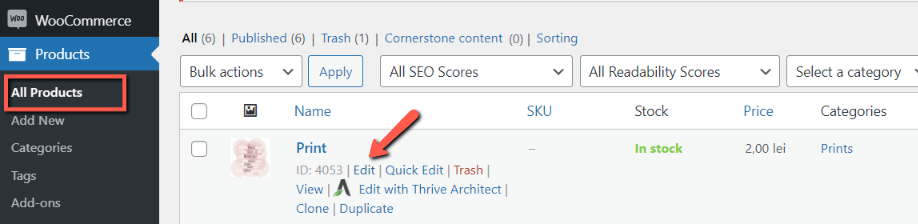
First, edit the product:
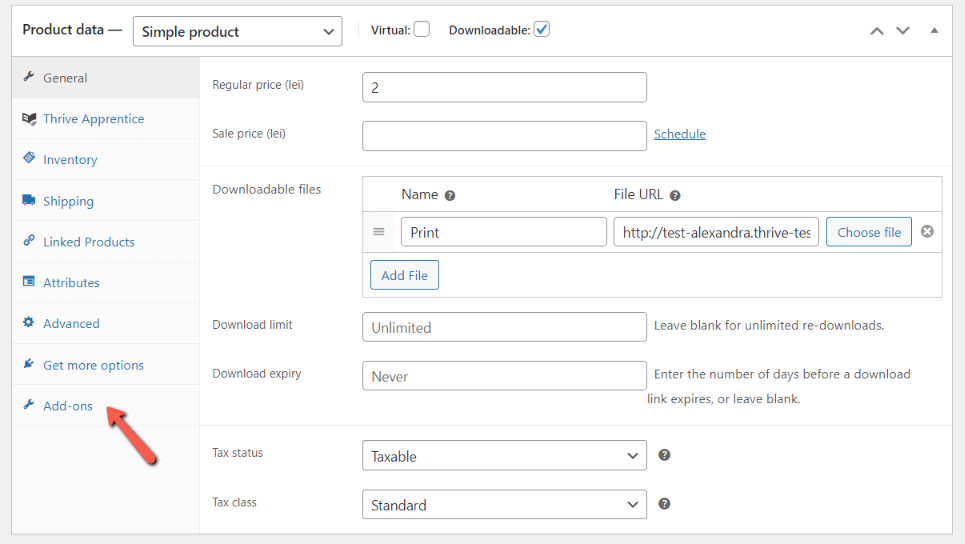
Scroll down to the bottom of the editor, and look for the “Add-ons” section. Once found, click on it:
This will open the add-ons dashboard, where you can create new fields just as described above:
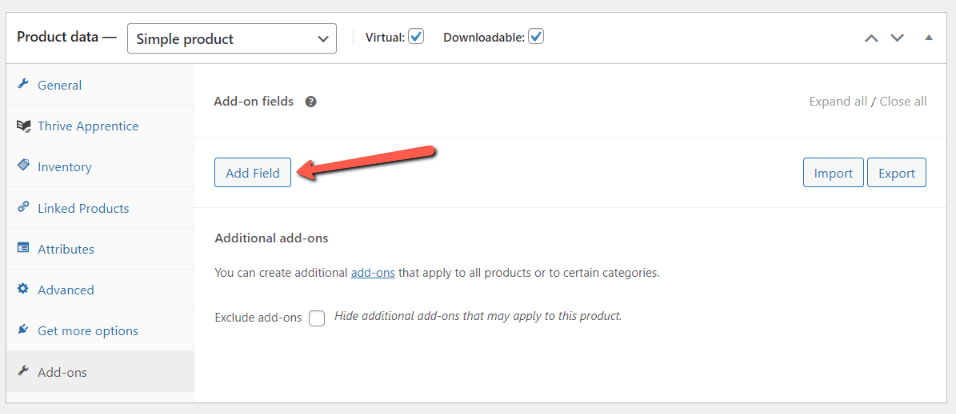
However, the fields you create here will only be applied to the product you are currently editing.
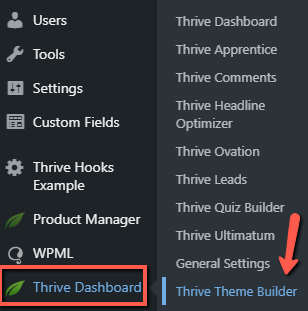
Edit the Product Template with Thrive Theme Builder
First, access Thrive Theme Builder from your left sidebar:
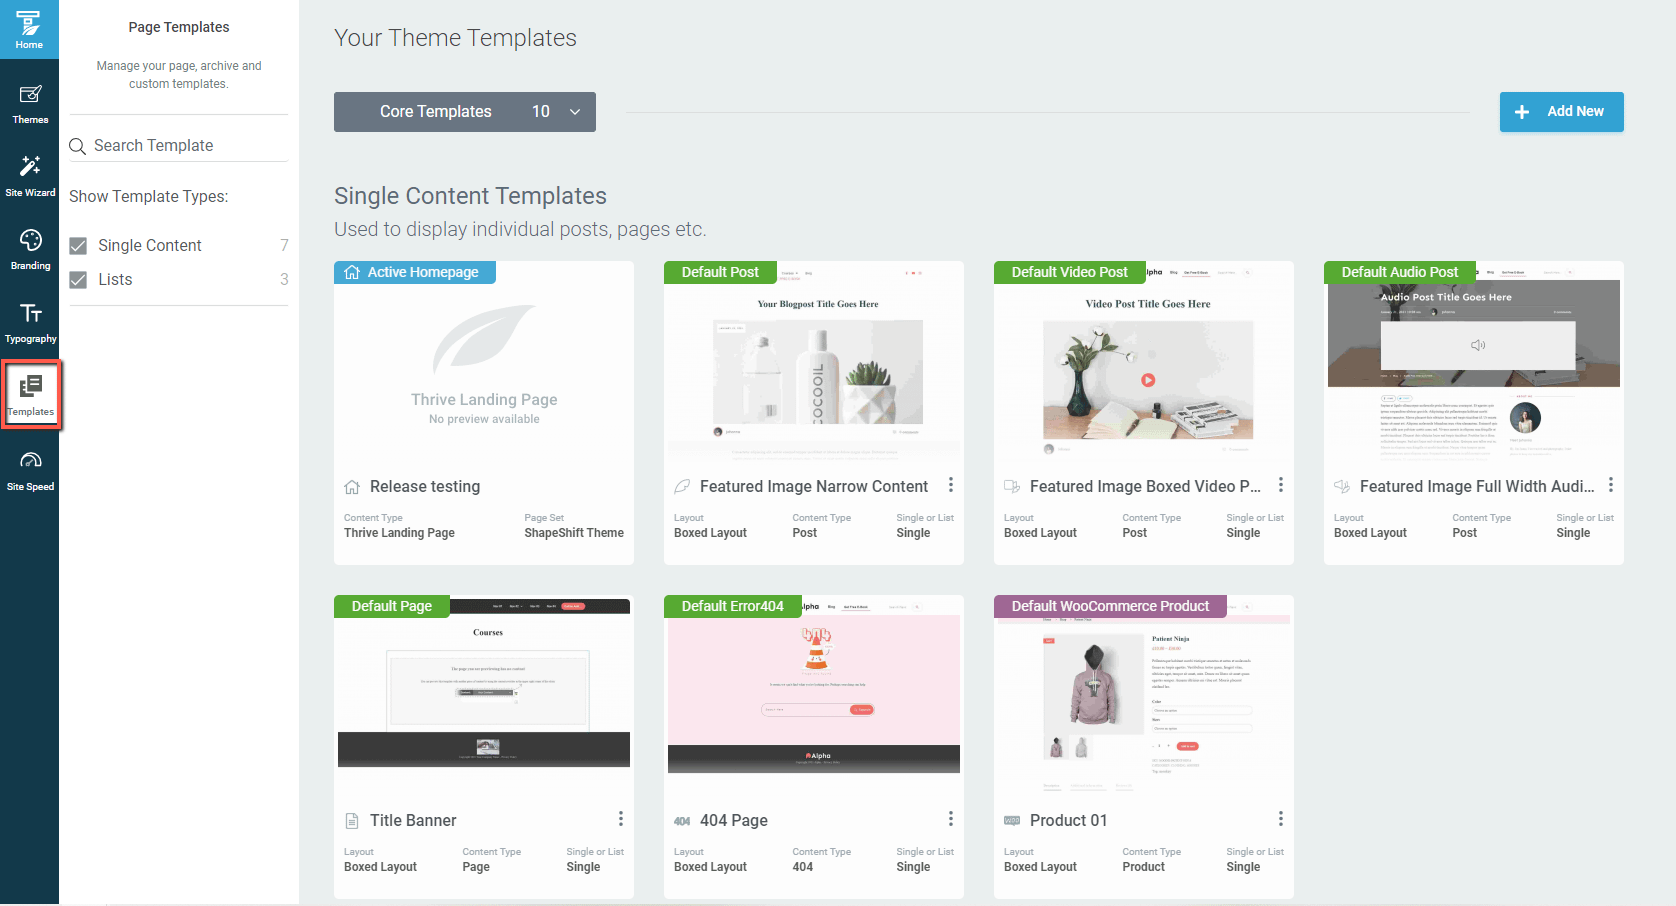
Head over to the “Templates” section and look for the “Default WooCommerce Product” one:
If you want to read more about how to access this template and also how to customize it, make sure to check this article from our knowledge base.
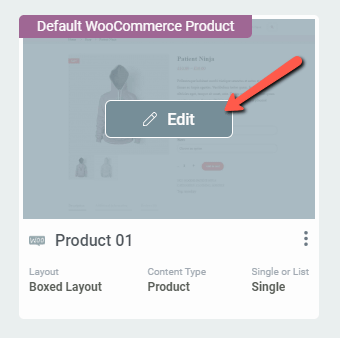
Access the Thrive Theme Builder editor by clicking on “Edit”:
In this editor is where you will be able to apply whatever changes you need to your product template:
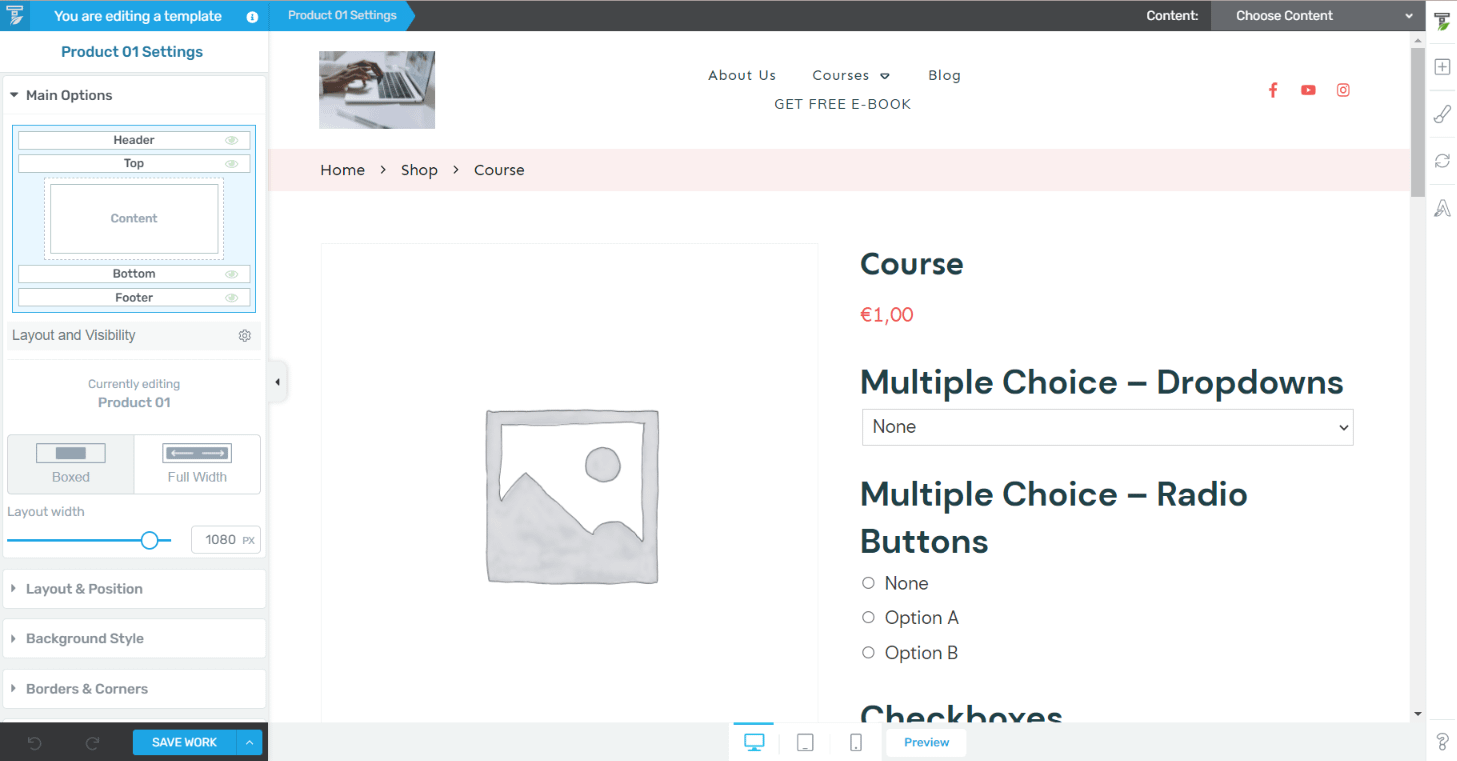
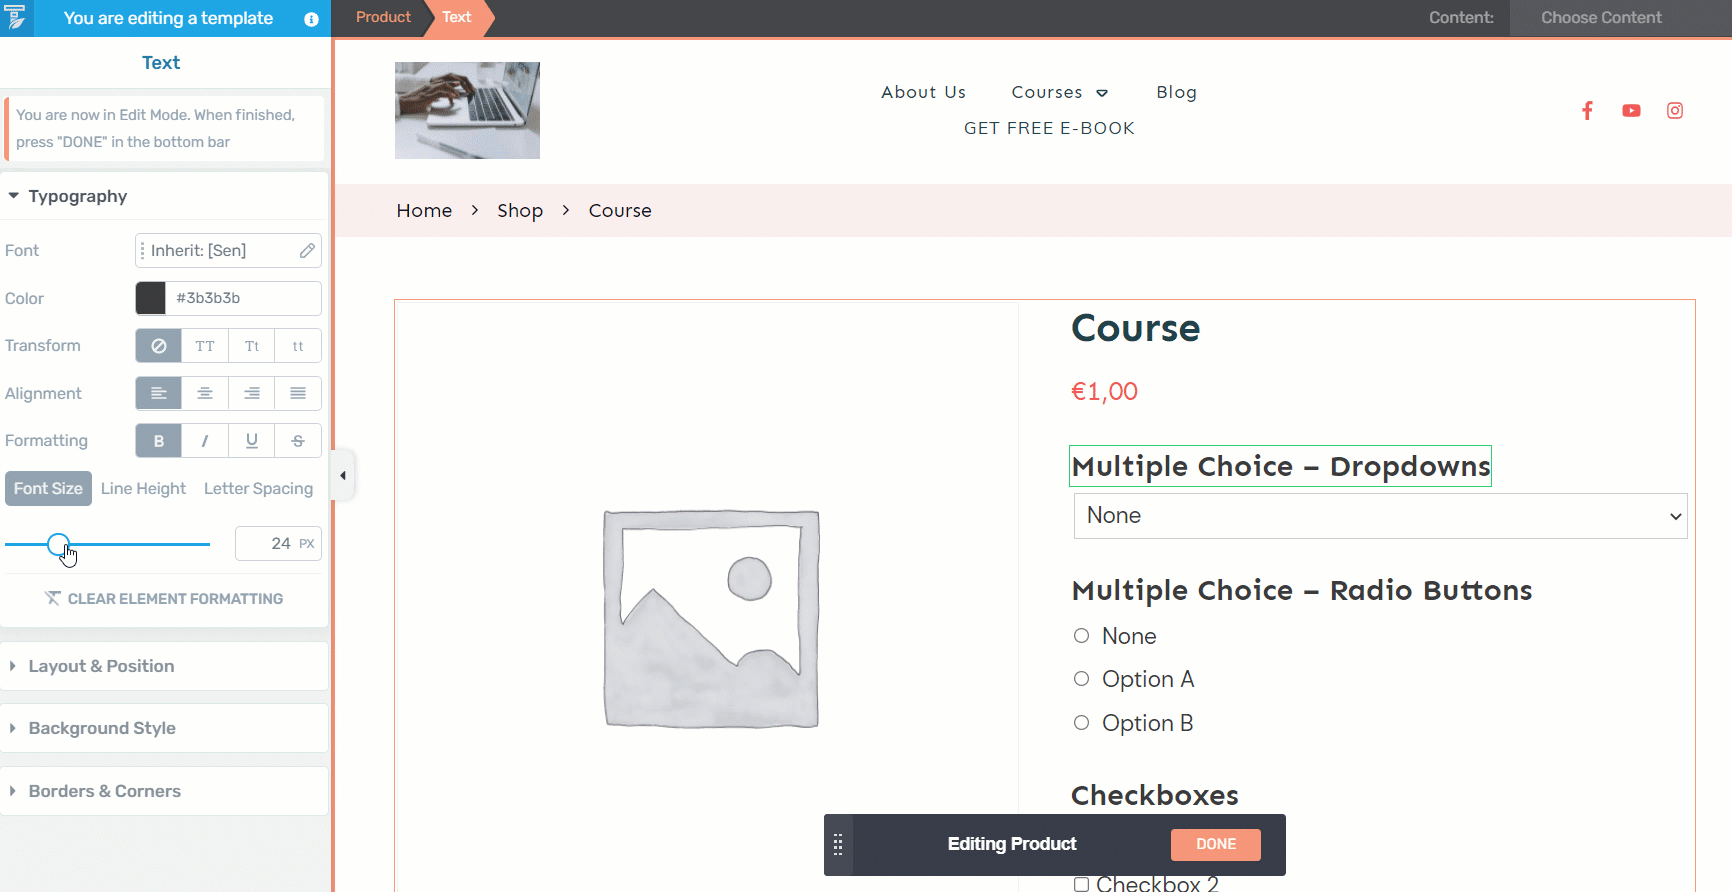
In order to access the options of the fields, you first have to select the product by clicking on it:
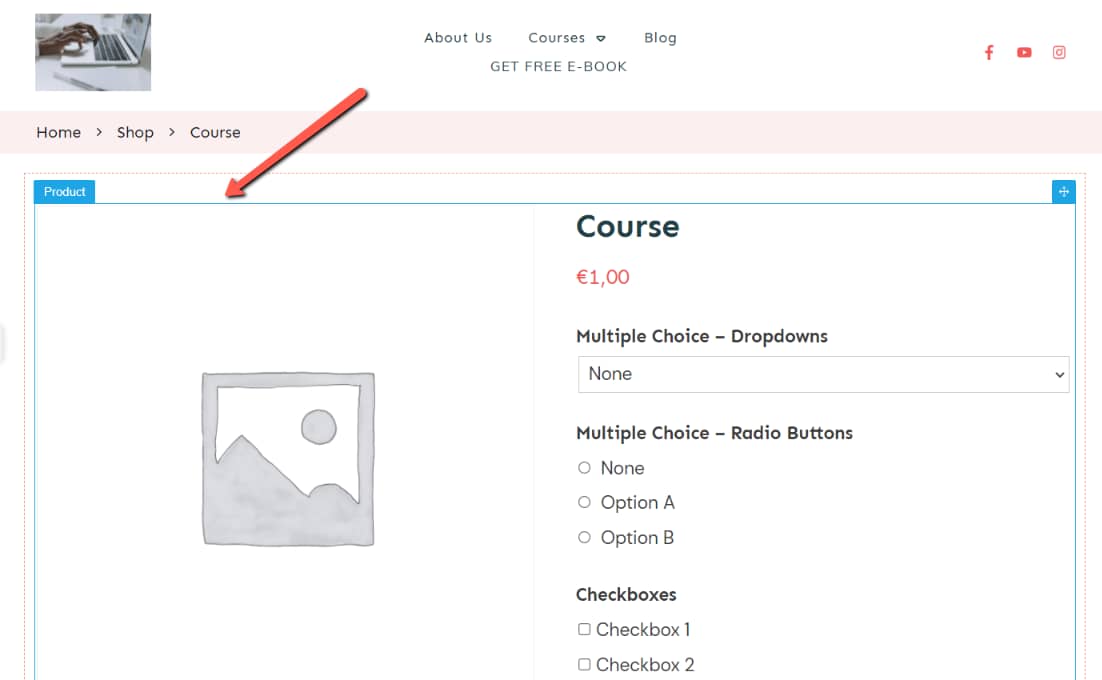
This will automatically trigger the options in the left sidebar:
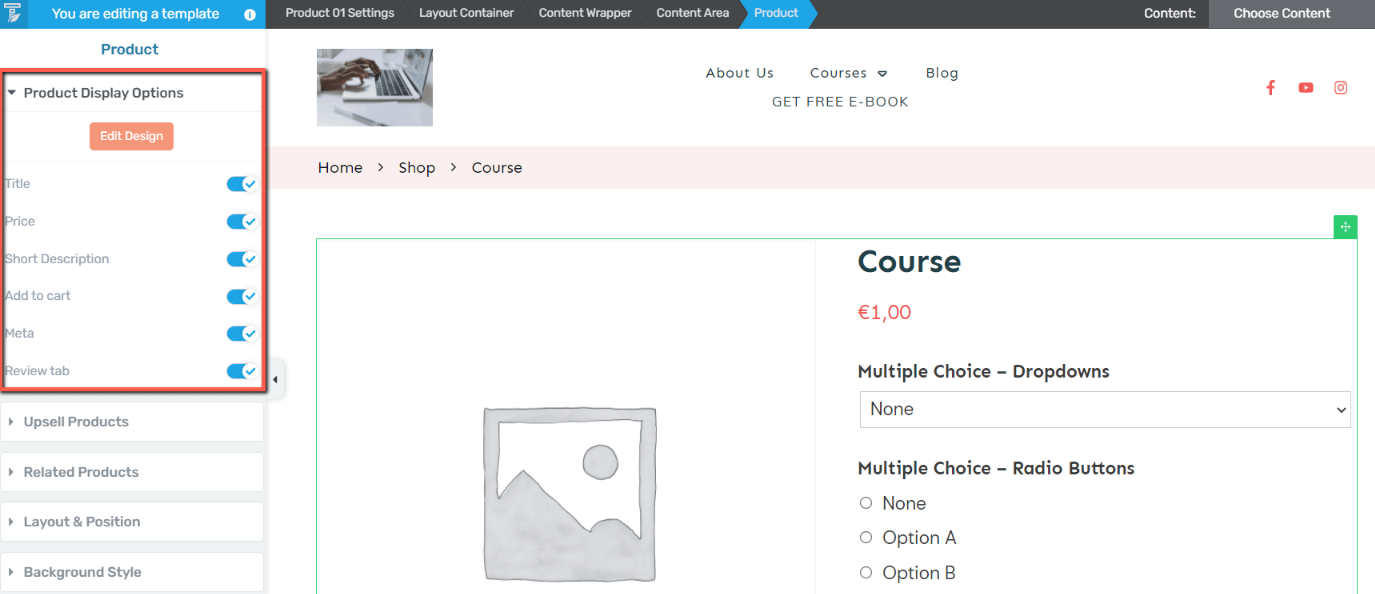
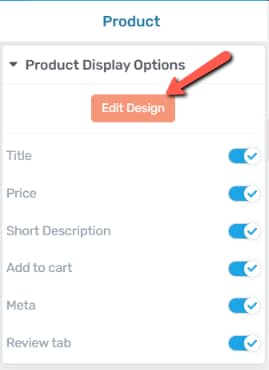
In order to start editing various parts of your product, click on “Edit Design”:
And now you can simply click on the item you would like to edit. Hover over each part to see exactly what type of item you are editing:
As soon as you select it, the options will appear on the left sidebar:
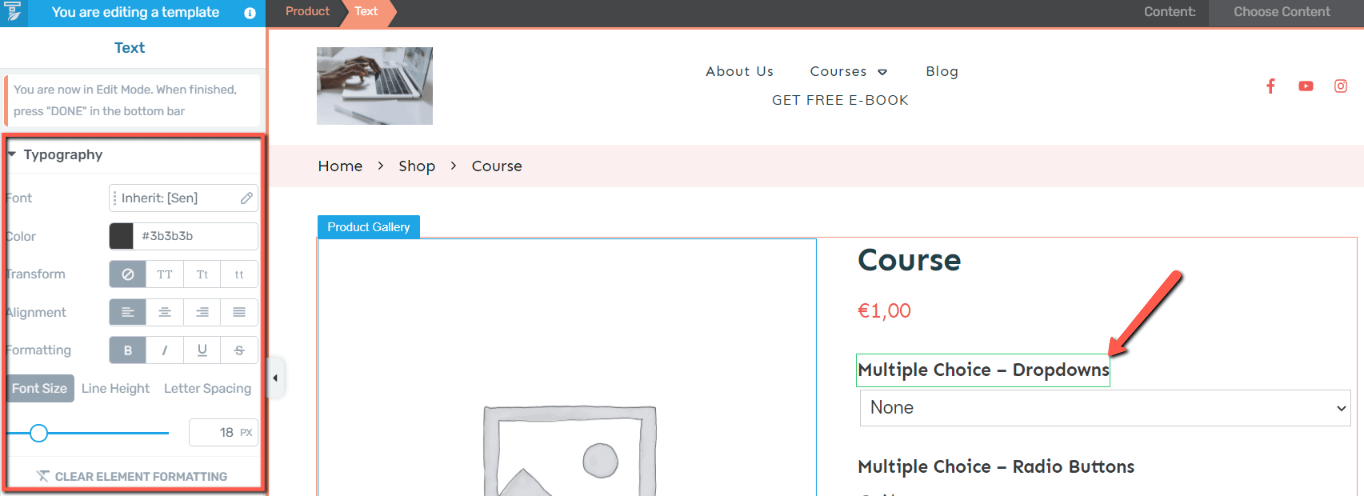
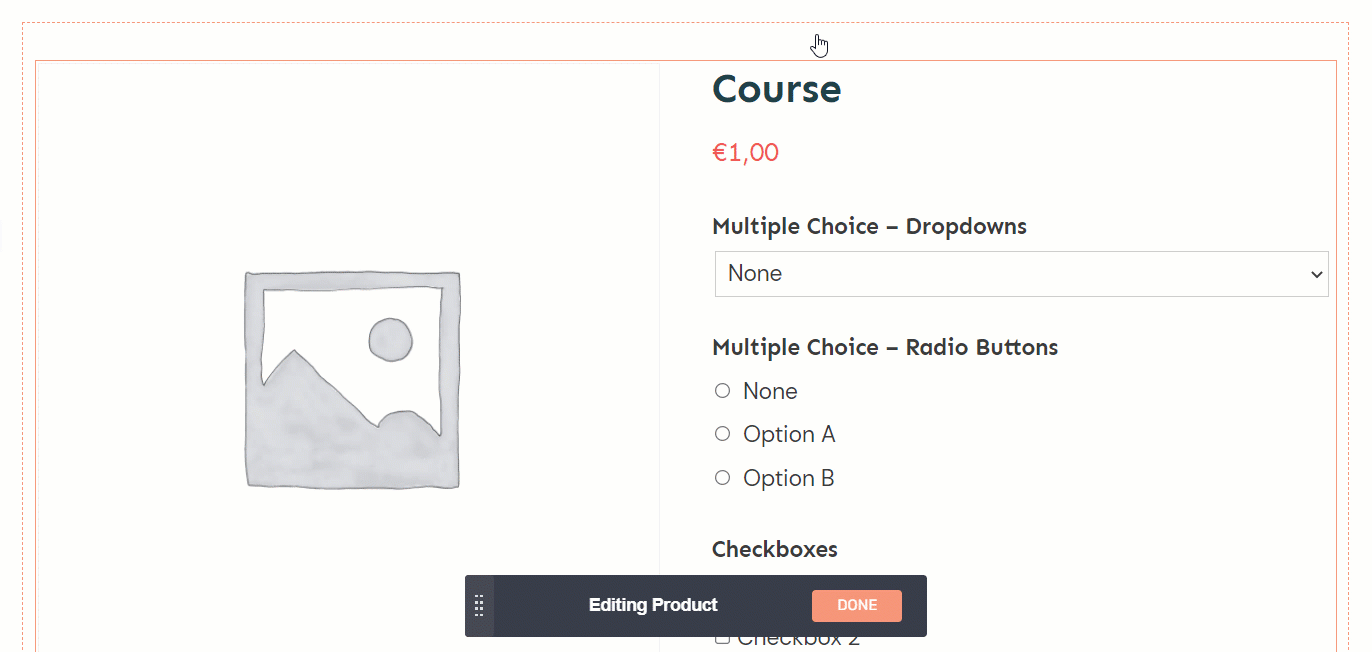
Any change you make here will be applied to all items of the same type available in your product:
Feel free to use all the available options of the left sidebar, to customize your template as you best see fit.
And that’s pretty much it! This is how you can use the “Product Add-Ons” extension from WooCommerce on your website, and also, how you can edit in Thrive Theme Builder the fields created with this extension.
I hope this tutorial was useful to you. If you want to read more about WooCommerce and Thrive Theme Builder, we have an entire dedicated section that you can check out.