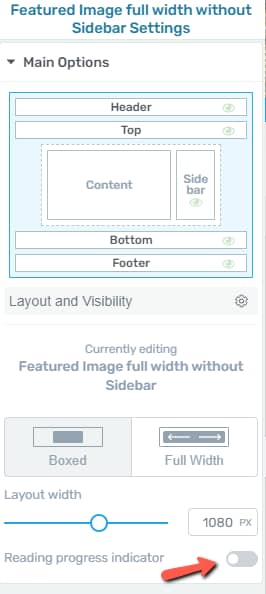
The left sidebar options can be used to customize various aspects of your Thrive Theme Builder templates.
One of the available features is displaying a reading progress indicator for the visitors who are reading your posts. You can do that by activating the “Reading progress indicator” toggle from your left sidebar:
This feature allows you to display a progress indicator on your template which will tell your readers how far they have read into your blog post.
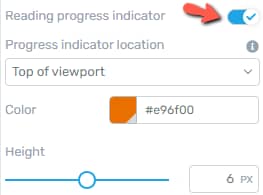
After you activate the toggle, you will notice that several additional options will appear in the sidebar:
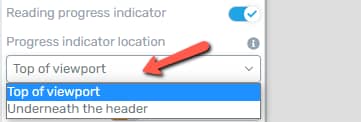
Progress indicator location
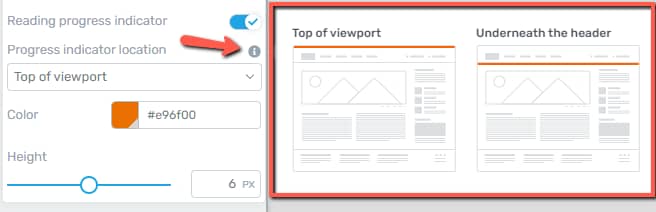
The first thing you can customize is the location of the indicator. You can choose between the two available options from the drop-down list: “Top of viewport” and “Underneath the header”:
The first option will display the progress bar at the top of the viewport, just as its name says:

The second one will show the progress bar right under the header:
Important!
Keep in mind that in order for this option to work, you need to have a sticky header on your template.
If you hover over the tooltip icon next to the option, a pop up will appear on the screen with visual examples of where the progress indicator will be displayed within your template:
Color
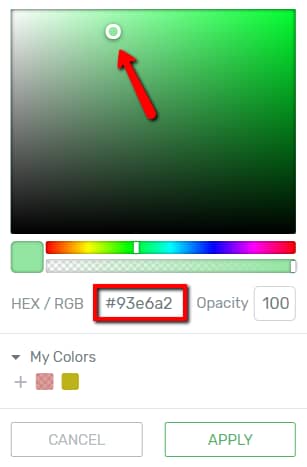
You can next choose the color of the indicator:
Click on the color box to open the color field, from where you can choose to “Edit the theme color”, which will take you to the Central Style Panel, or to set a new color for your progress indicator by using the “Unlink from theme color” option:
If you want to learn more about what are “Theme Colors” and how you can use them, you can read this dedicated article linked here.
Height
Lastly, you can also set the height of the indicator from the next available option:
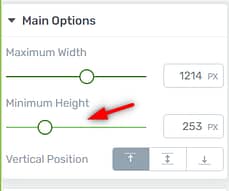
You can either use the slider to set the height, or you can insert a numerical value in the corresponding field.
Displaying the remaining time in minutes
Besides the reading time indicator, you can also choose to display the remaining time in minutes.
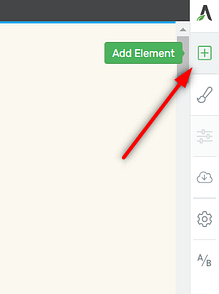
In order to do that, you have to add a “Dynamic text” element to your template. Click on the plus sign from the right sidebar:
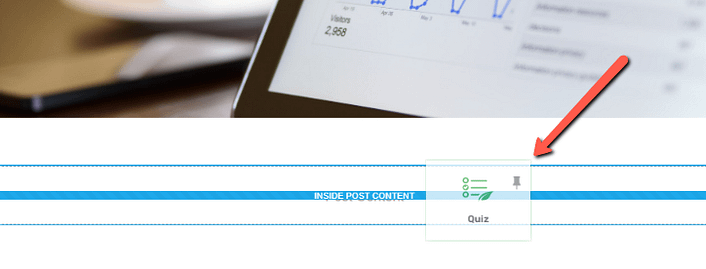
Look for the text element in the list and once you find it, drag and drop it to your template to the desired location:
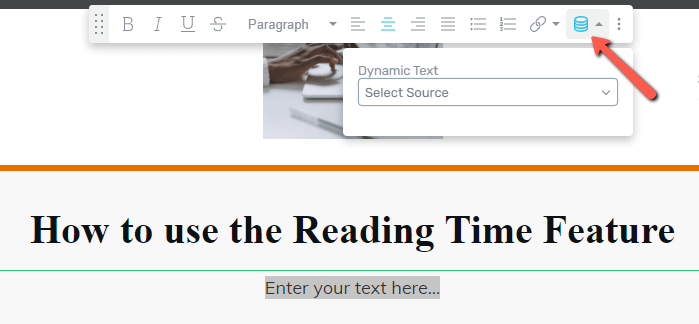
Now click on the “Dynamic Text” button from the editing panel and click on it:
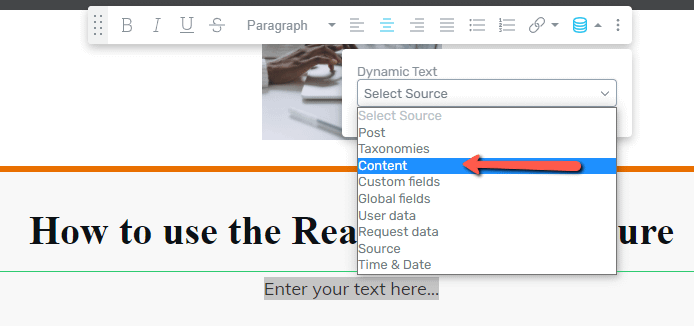
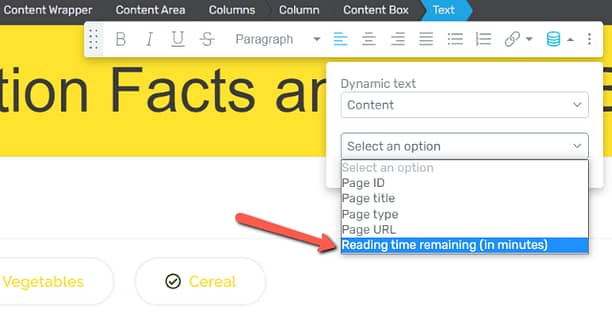
In the drop-down list that opens, make sure to select “Content”:
And from the next drop-down select “Reading time remaining (in minutes):
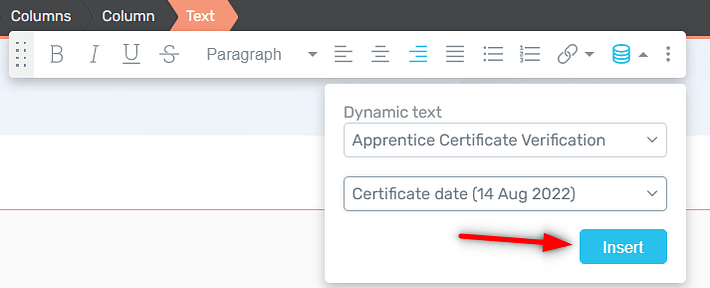
Lastly, after you’ve selected these options, click on “Insert” to make sure the dynamic text is added to your template:
You will notice that the time was automatically calculated, and will be displaying the required amount of time for reading the article:

Now, the user will be able to see both the progress time indicator, while reading your blog post, as well as the time required for reading it entirely.
These were the ways in which you can display and customize a progress time bar using the “Reading progress indicator” feature. Keep in mind that, besides the options described above, you can also use the rest of the options, such as “Layout & Position” or “Borders & Corners” in order to further customize the section.
If you need more information about the Thrive Theme Builder elements and features, make sure to read the articles from our dedicated knowledge base section.
I hope this article was useful to you. If so, make sure to leave a smile below 🙂