When using Thrive Theme Builder, you can make use of various elements in order to have a better connection to the users or visitors on your site. The “Social Follow” element is useful if you want the users to be able to quickly access your social media pages.
Add the Element to Your Template
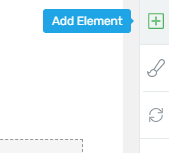
In order to use the element, you first have to add it to your template. To do that, click on the plus sign from the right sidebar:
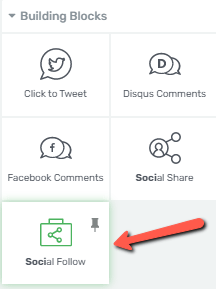
Here, look for the “Social Follow” element, or search for it in the search bar:
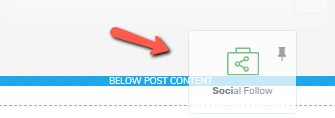
Then, grab the element and drag and drop it where you best see fit, on the page:
The element will then be added and you can start using its options, which you will find in the left sidebar:
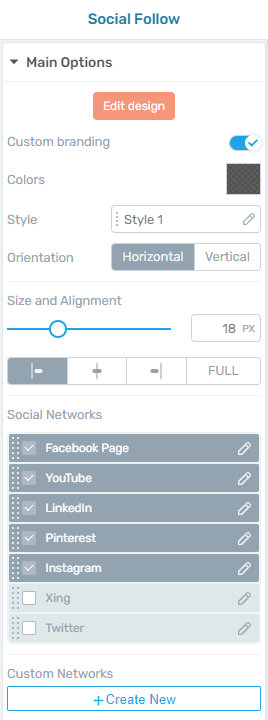
By default, the social icons that will be loaded on-screen after you add the element to your page are the ones that you’ve set up in your Smart Site.
Read more about how to use the Global Fields in the article linked here.
Use the Main Options
The “Main Options” section of the left sidebar has some specific options for the “Social Follow” element. Here is how you can use them in order to customize the element to your liking:
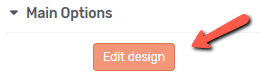
“Edit Design”
The first thing you can do in the “Main Options” sidebar is to customize the look of the icons by clicking on the “Edit Design” button:
This will open a new sidebar, with all the available options:
Group Styling
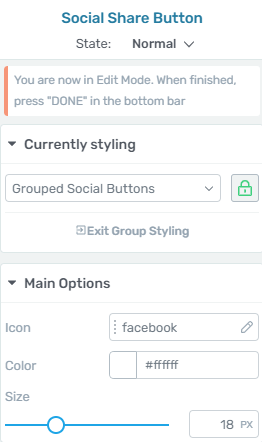
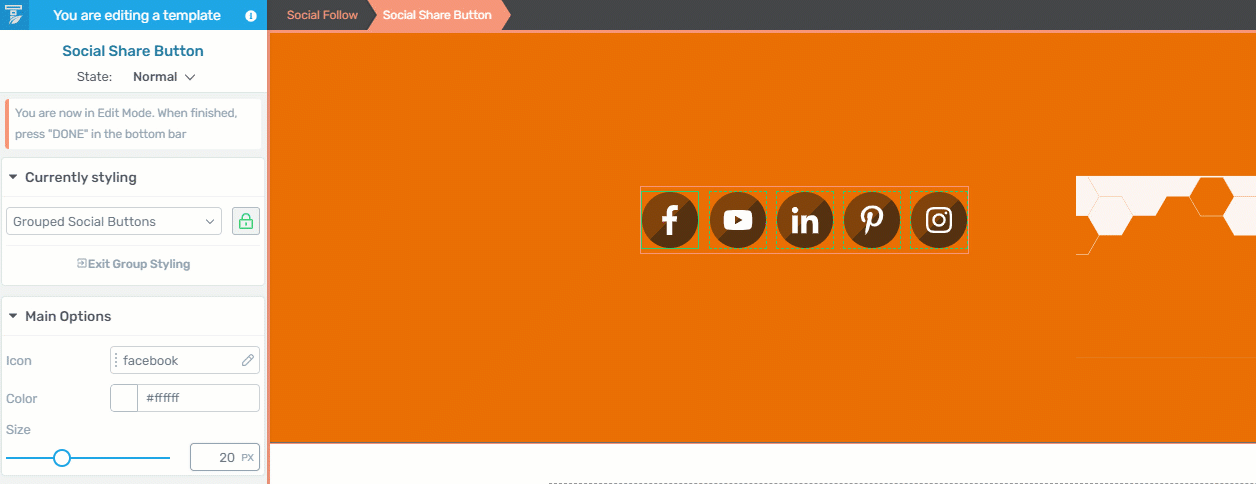
The first thing you will notice in the sidebar is the “Grouped Social Buttons” field, which allows you to edit the design of the entire group of icons. Any change you will make will be automatically applied to all social network icons available in that group:
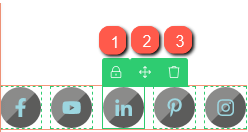
There’s also the option of editing each icon individually. In order to do that, select the desired icon and click on the lock option next to it:
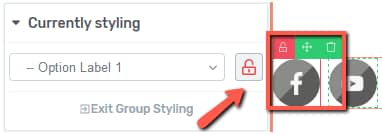
You will notice that the lock turns red, and this will signal the fact that any change you will now make to that icon will be applied to that icon only.
Furthermore, selecting a single icon will trigger three additional options: you can unlock the icon from here and edit it individually (just as described above) (1), you can move it around as you wish (2) and you can remove an icon (3):
Main Options
The following options which you can use here are the ones located in the “Main Options” section:
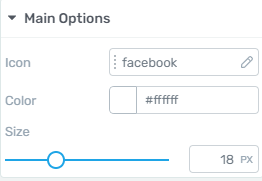
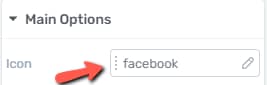
From the “Icon” field, you can change the icon with a new one. To do that, click on the pencil or anywhere on the field next to the “Icon” text:
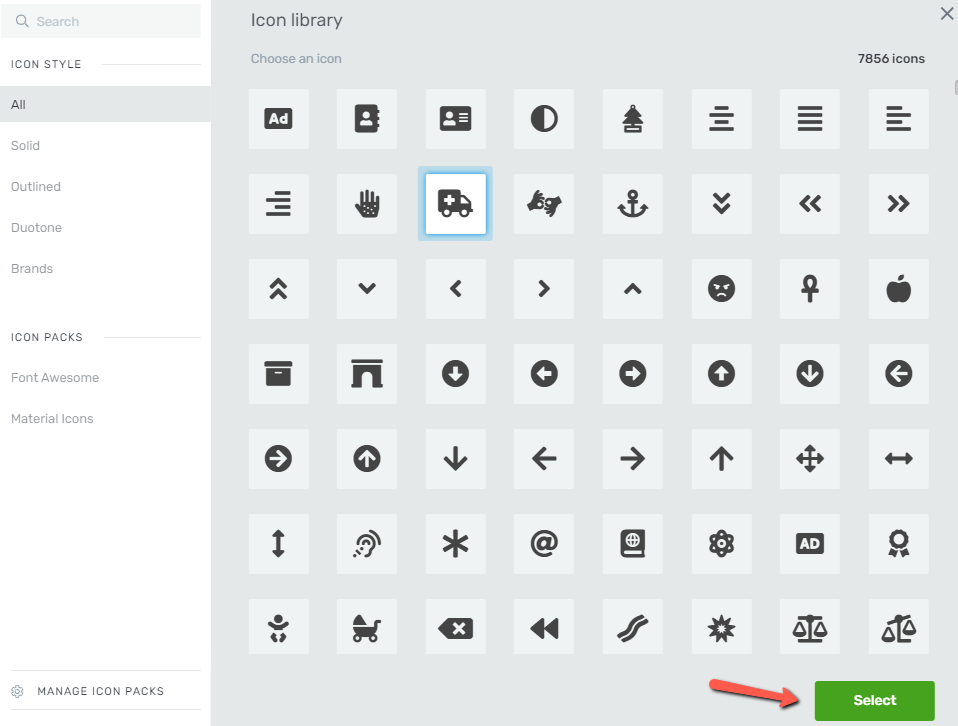
A new “Icon library” window will open, from where you can choose a new one as you best see fit:
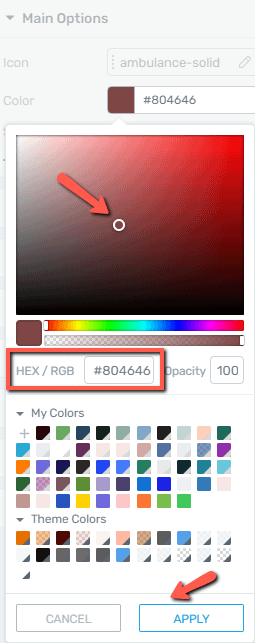
Going forward, the next option will allow you to change the color of the icon by clicking on the color box next to it:

This will open the color pop up, from where you can use the color picker to manually select the color or insert the HEX/RGB code in the corresponding field:
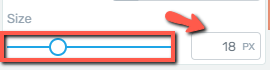
Lastly, you can modify the size of the icons by dragging the slider from side to side, or simply by inserting a numerical value in the field next to the slider:
Remember that for the “Color” and “Size” options, the changes you make will be applied to the whole group of icons. If you want to change the color and size of each icon individually, you have to individually select and edit them as described above in the “Grouped Styling” section.
When you have finished with editing the element and want to exit the “Edit Design” mode, click on one of the two “Done” buttons located in the bottom part of the page:

This will automatically save your work and take you back to the “Main Options” sidebar of the “Social Follow” element:
Custom Branding
The next available option that you can use is “Custom branding”. This option is disabled by default, but you can activate it by clicking on the toggle next to it:
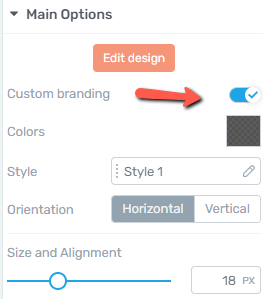
This will automatically apply the color of your brand to the social share buttons:

Colors
When you activate the “Custom branding” option, you will notice a new color box available in the sidebar:
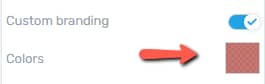
You will have two different options from which you can choose: “Edit template color” and “Unlink from template color”:
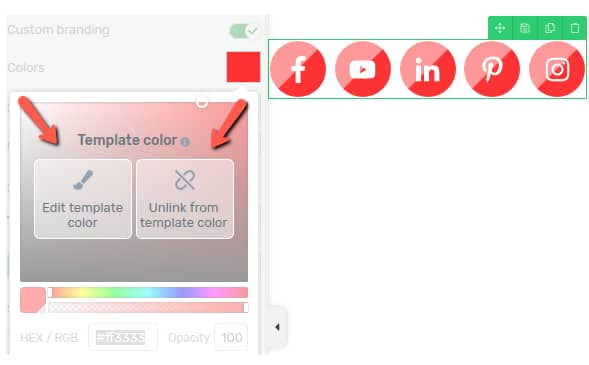
If you click on the “Edit template color”, the “Style Editor” will load in the right sidebar of your page:
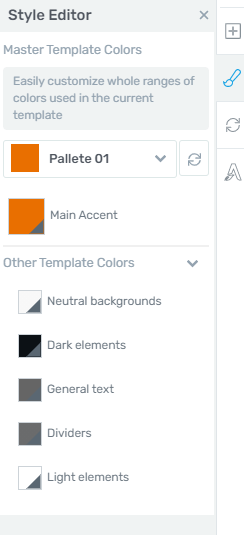
You can modify the theme color from the “Style Editor”, color that will automatically be applied to the social share buttons you are currently editing.
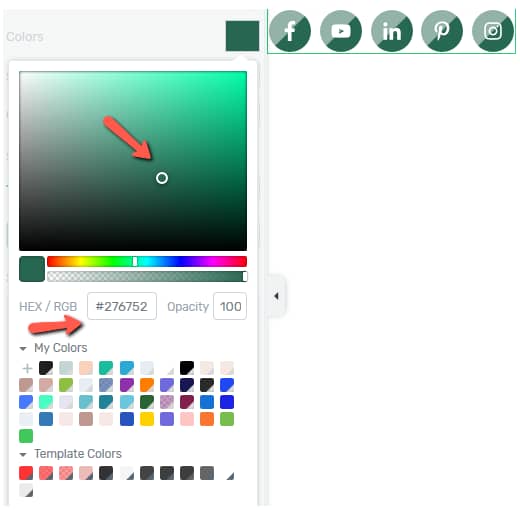
The second option, “Unlink from template color” will do exactly what the title says – this will unlock the color box and you can choose the color you want with the help of the color picker, or by inserting the HEX/RGB code:
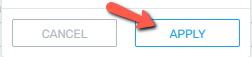
Once this is done, click on “Apply” so that all your changes are saved:
Style
Going forward, the “Style” option will give you the possibility to choose different styles for your icons:
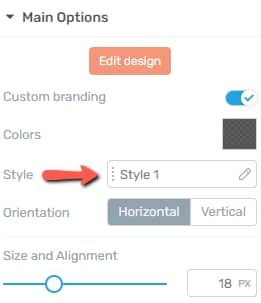
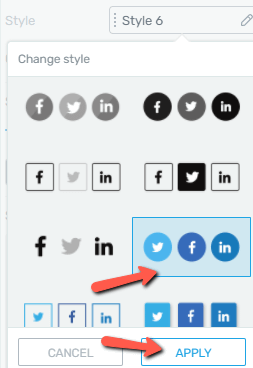
If you click on the field next to the option or on the pencil icon, a drop-down with various styles will show up:
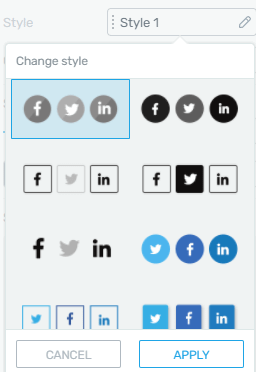
Decide which of the styles goes best with your website, and after you select the desired one, click on “Apply” to save the changes:
Note: Keep in mind that if the “Custom Branding” is enabled while you are changing the style of the icons, the color will be inherited from the theme’s main accent. If you want to use the icons exactly as they are in the library, then you’d have to turn off the “Custom Branding” option.
Orientation
The orientation of the icons can be customized as well. From the editor you can decide if you want a “Horizontal” or “Vertical” orientation:

Size and Alignment
The next available option is the “Size and Alignment” one.
You can change the size of the icons either by dragging the slider until the desired size is reached or by manually adding a numerical value in the size field:
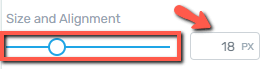
When the size is changed, the icon, background, margins, and padding will be scaled accordingly.
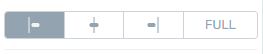
Right under the size controls, you can find the alignment options from where you can choose a left, middle, or right alignment.
Selecting the “Full” option will make the social follow element box stretch on the full width of the page:
Social Networks
The “Social Networks” fields are comprised of a list of predefined social follow links:
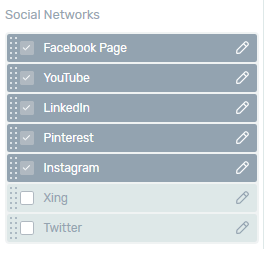
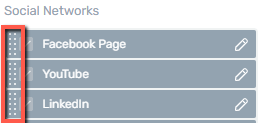
With the help of the dots located next to each field, you can move them around and reorder them as you best see fit:
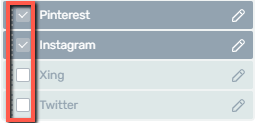
You can also select or deselect them, thus deciding which social media icons you would like to appear on your page:
And last but not least, you can further edit them by clicking on the “pencil” icon next to each social follow link:
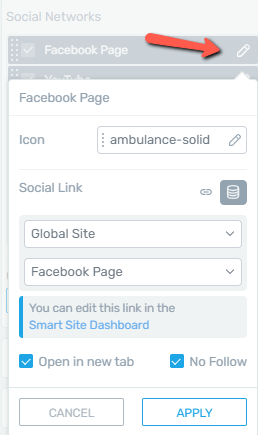
If you click on the “Icon” field, you will be taken to the icon library like the one from the “Main Options” section, explained earlier in the article:

Next comes the “Social Links” option, which has two separate features, both described below:
-
By default, the “Dynamic link” is automatically selected. This means that you can link from here the selected social follow icon to the social global field that you’ve already set in the “Smart Site Dashboard”. If you haven’t set them up yet, you can access the Dashboard and set them up directly from the editor, by clicking on the “Smart Site Dashboard”:
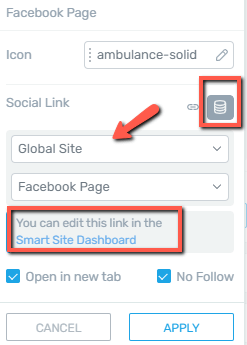
Note: The “Dynamic Link” button will allow you to choose between two different options: you can either link the icons to the global fields from your “Global Sites” or from the “Authors” defined in the “Authors” defined in the “Users” section of your WordPress dashboard:
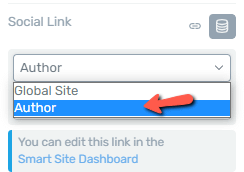
This is useful if you have multiple authors writing and posting on your website. If you select this option, each time a different author will publish a new post and also use this element, the social networks loaded on the screen will be the ones that he or she has set up in the “User” profile.
If you need additional information on how to add your social networks in the Global Fields, you can read the steps detailed in this article.
-
If you select the “Static link”, you will have to manually add the corresponding social media link in the URL field. From the same window, you can also edit the ‘Social Name”, and decide whether the link should open in a new tab, or have a no-follow:
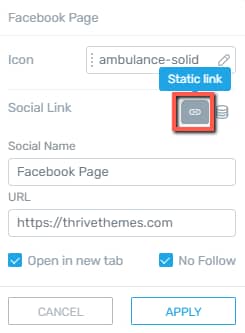
After you are done with setting up your social links, don’t forget to click on ”Apply” in order to save everything.
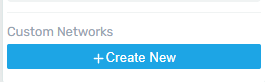
Custom Networks
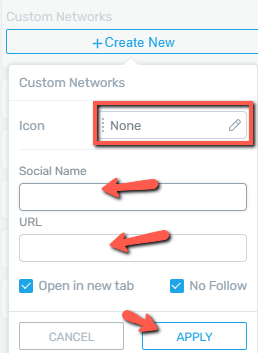
The last available option from the “Main Options” section is called “Custom Networks” and it allows you to set your own network. In order to do that, click on the “Create New” button:
In the pop up that appears, select the icon for the social network you are trying to add, then fill in the corresponding fields, such as “Social Name” and “URL” and click on “Apply” once done:
These were the ways in which you can customize the “Social Follow” element using the “Main Options” section from the left sidebar. Keep in mind that, besides these, you can also use the rest of the general options located in the left sidebar, all for which we have separate articles in our knowledge base.
If you need more information about various Thrive Theme Builder elements or features, make sure to check out our dedicated knowledge base section.
I hope you found this article useful. If so, please make sure to rate it with a smile below 🙂