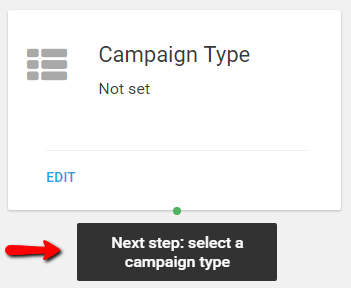
After creating a campaign, you need to specify how and when this campaign should display on your site, namely the campaign type:
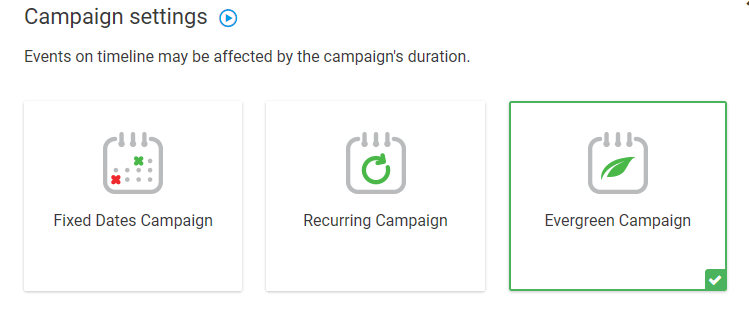
You can choose from three options:
In this tutorial, we present how to set up an “Evergreen campaign”.
Select the Campaign Type
In campaign settings, select “Evergreen Campaign”:

Set up the Campaign Duration
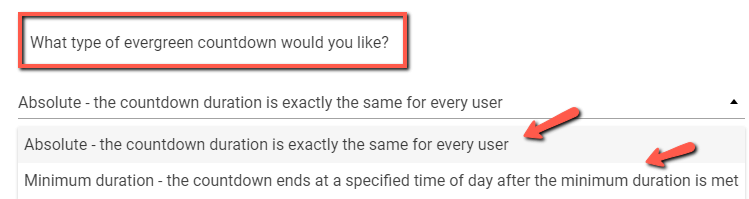
The first thing you need to set up while setting up an “Evergreen Campaign” is the type of campaign: you can choose between an “Absolute” and a “Minimum duration” campaign:
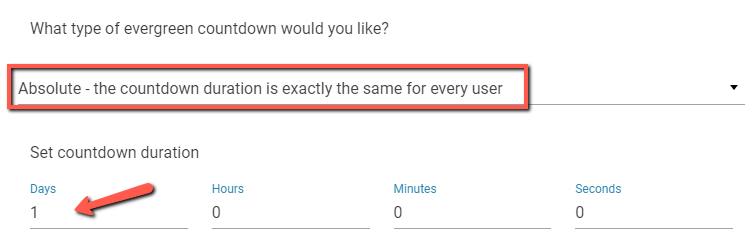
Absolute
If you choose the first option, the “Absolute” campaign, you’ll basically create a campaign that will last the same amount of time for each user. You can set the number of days, hours, minutes, and even seconds for the campaign:
Minimum duration
If you choose the second option, the “Minimum duration” one, you’ll notice a new set of options appearing on the screen. This type of campaign will allow you to set not just the duration of the campaign, but also the time and timezone at which the campaign will end:
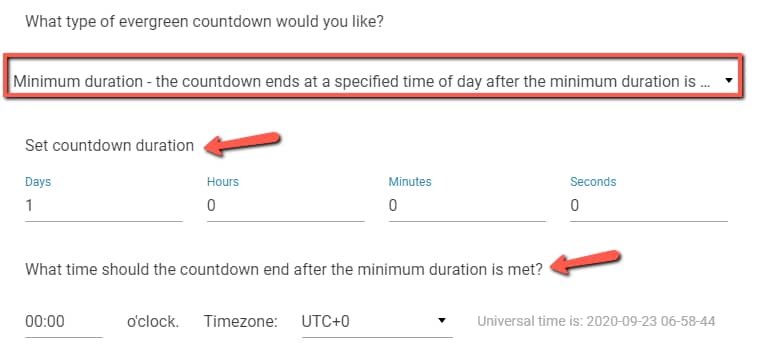
The “Minimum duration” campaign means that the campaign will last a different amount of time for each user, depending on when the campaign was triggered.
However, even if the duration is always different for each user depending on when he triggers it, the campaign will still run for the minimum amount of time set by you.
You can read a more in-depth tutorial about these two options in the article linked here.
You next have the option of enabling the following features: “Activate Lockdown” and “Repeat this campaign”:
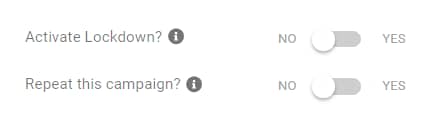
- Activate Lockdown
This option is explained in detail in this article – Lockdown for Evergreen Campaign:

You can also use the tooltip, and see the provided explanation when you hover over it:

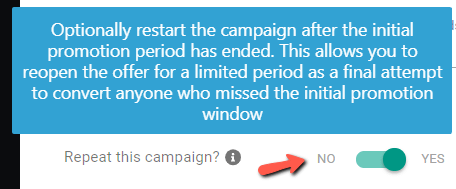
- Repeat this campaign
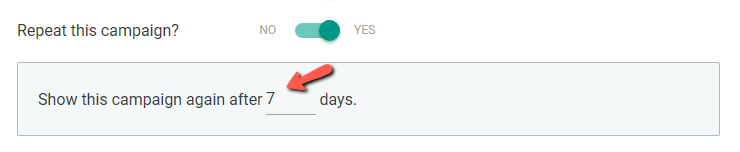
Activating the toggle will do the exact thing as its name says: it will basically make the campaign repeat itself after a period of time has passed (you can also hover over the tooltip for an in-depth description):
You can set the amount of time by entering a numerical value in the field underneath the option:
Select the Trigger
As you can see, this campaign can be triggered in multiple ways. If you click on the drop-down field located underneath the “When should the countdown start” text, you will be able to see the following options:

|
Note: If you activate the Lockdown options for this campaign, the trigger types will change: 
|
However, if you don’t activate the lockdown campaign settings, these are the options available for the countdown start:
When a lead generation form is submitted
If you select this option, you will be able to connect your campaign to an entire Lead Group, to a Lead Shortcode, a ThriveBox, a Thrive Quiz, or even to a “Lead Generation” element placed on one of your pages:

What this means is that whenever someone subscribes via an opt-in form from Thrive Leads, a ThiveBox, or even a page, or completes a quiz that has an opt-in gate, the campaign will be triggered.
First visit to site
This campaign will display for every first-time visitor. When a new user visits your website, this campaign will show:
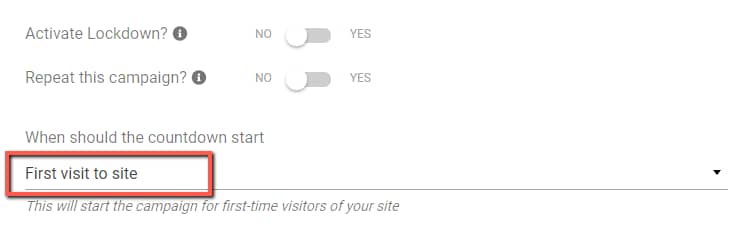
If the user visits your website the next day, the campaign will no longer appear.
Visit to a specific page:
This campaign is set to appear upon visiting a specific page on your website. This can only be an internal page/post/landing page, as no external URLs are supported:
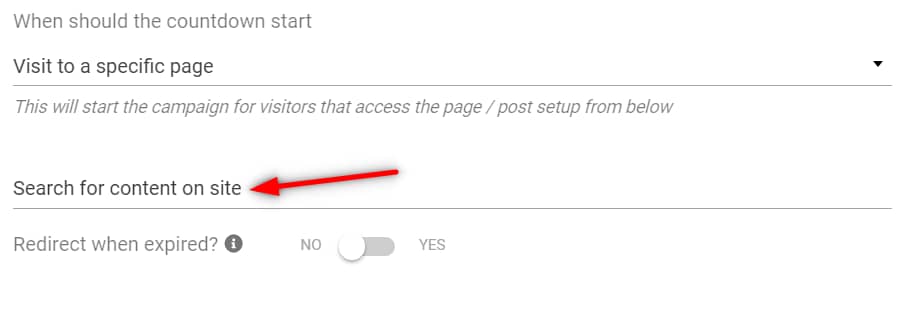
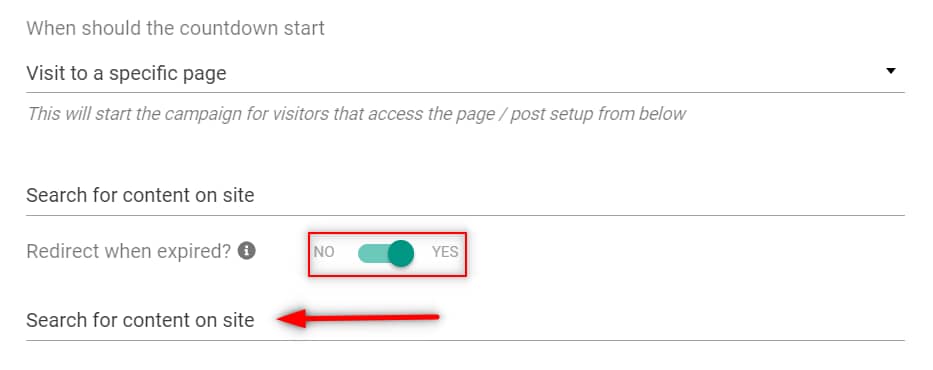
In the “Search for content on site” field you are able to type in the name of the page you want to display and select it from the list:
Note: To make sure your search list is always displaying accurate results, try adding the searched content between quotation marks.
Lastly, you can activate the “Redirect when expired” toggle to set a cookie on each visitor who lands on the promotion page for the first time. This allows you to redirect the visitors to a different page if they land on the promotion page after the cookie has expired:
Display settings for your campaign
Now that your campaign is created, you can set the display settings, namely select the pages where forms should appear:
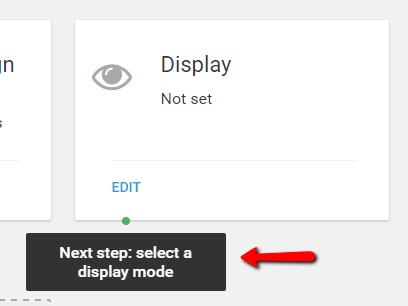
Click on “Edit” to select the pages and posts where the campaign should appear:
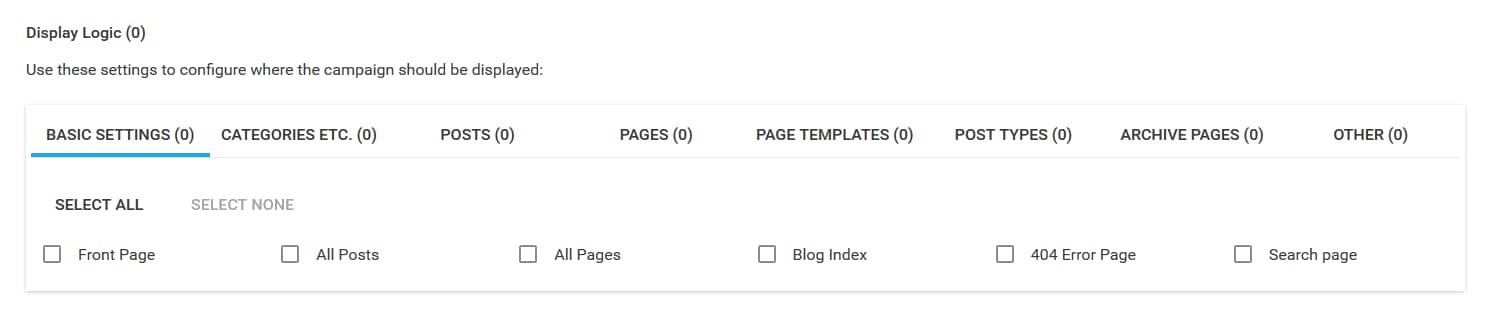
For more detailed instructions, on how to set display settings for your campaign, please see this article.
This is how you can create an “Evergreen Campaign”. If you need more information about Thrive Ultimatum, make sure to check out our dedicated knowledge base section.