If you are building an online course with Thrive Apprentice, you have a very easy way of organizing and structuring it.
Besides using lessons and chapters, the Modules feature is also available now.
Once you have created a course, you can organize the lessons and chapters (if you have chapters) in Modules as well, to make the course even easier to follow for the visitors/subscribers of your website.
If you need detailed info on how to get started with Thrive Apprentice, first you should check out the articles about creating courses, lessons, and chapters.
Adding modules to your course
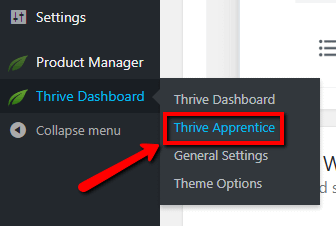
First, go to the Thrive Apprentice dashboard. You can find it if you hover over the Thrive Dashboard and click on “Thrive Apprentice”:
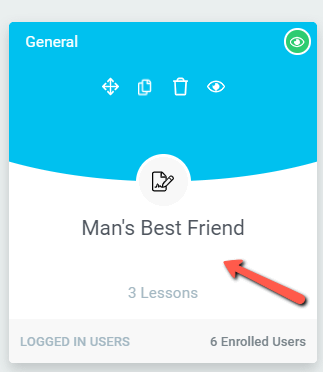
Once you have accessed the Thrive Apprentice dashboard, click on the course that you have previously created:
There are two possibilities here:
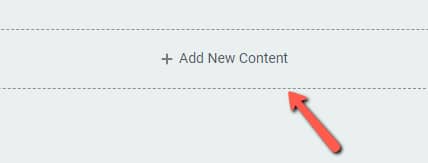
a) You are creating a Module from scratch
This means that you did not add chapters or lessons to this course yet and you want to start building it by adding a module to it.
In this case, click on the “+Add New Content” option from the middle of the page to add new content:
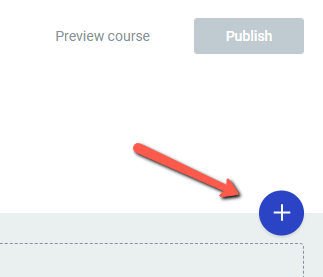
b) You are adding a module to the chapter & lessons you have already created
In this case, you have already added chapters and lessons, or only lessons to your course and you want to structure them in a Module.
For that, click on the “+” sign on the right side of the page of the course:
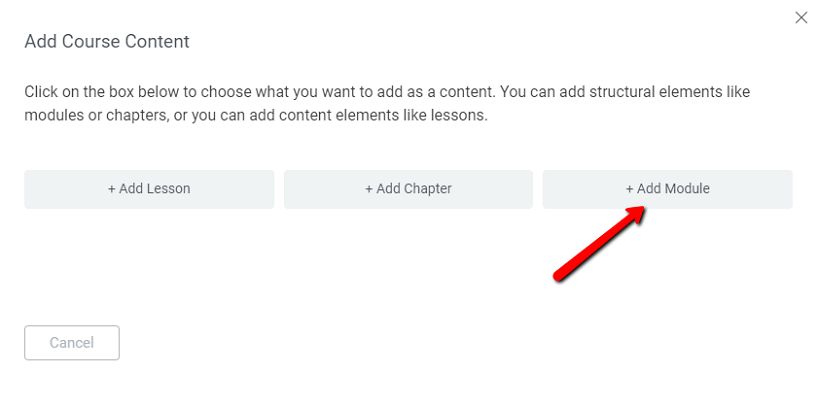
Then, in both cases You will see a pop-up with three options: Add Lesson, Add Chapter, and Add Module. Select the “Add Module” option:
Note: When you are adding a module to a course that already has chapters and lessons, or only lessons, those will be moved inside the newly created module, but you can move them in other modules later.
Thus, in case “b” you will need to confirm that you want to continue with creating the module, but other than that, the next steps are the same in both cases.
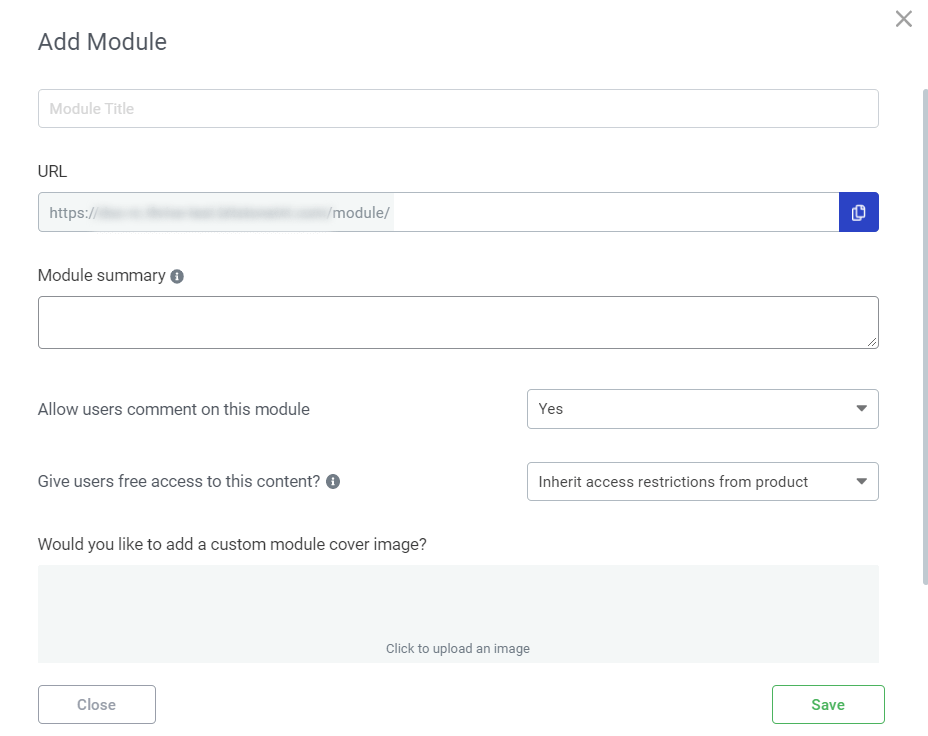
In the pop-up window that appeared you will have to give your module a title (this one is mandatory) and you can also add a description/summary, as well as a cover image to it in the appropriate sections.
At the same time, you will be able to see and copy the URL of the module, and choose whether you want to allow users to comment on the module or not:
Once you are done, you can click on “Save” and your new module will be created.
Module Options
Add new lessons or chapters
Adding new lessons or chapters to your module can be done by simply clicking on the “Add Lesson” or “Add Chapter” options that appear under the module:
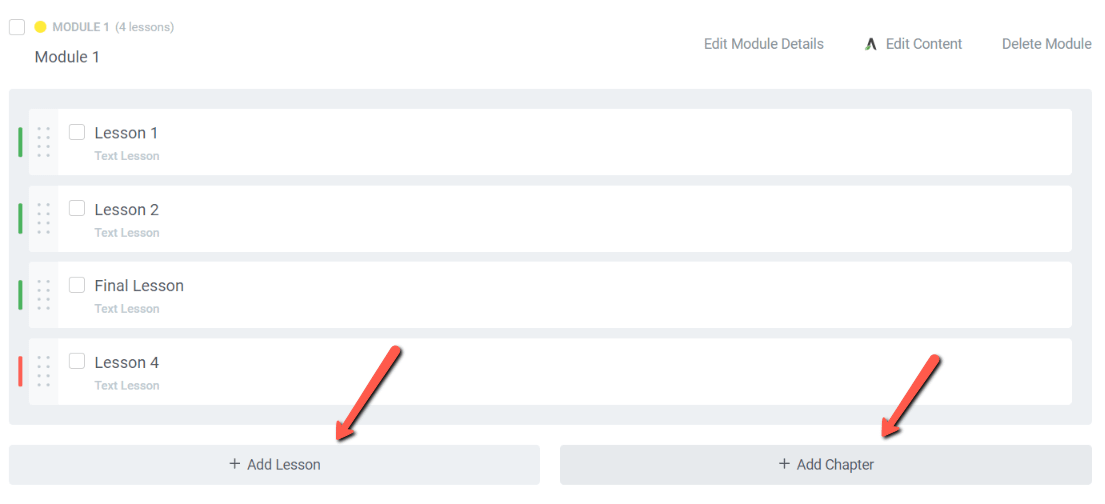
Note: If your module does not contain any lessons or chapters yet, then, these two options will appear next to each other.
Edit the name of the module
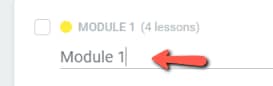
You can easily change the name of a module. Just hover your mouse over the current name of the module and you will see the edit option (pencil icon) appear. Click on it and you will be able to modify the name of your module directly from there:
Rearrange modules
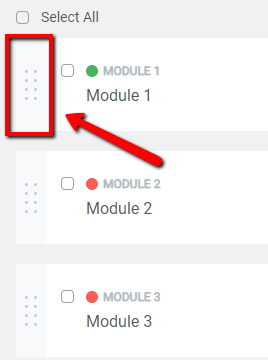
If you have more modules in your course, you can rearrange their position. First, make sure, they are not expended by using the little arrow on their right to close them.
Then, you will see that a dotted left part will appear next to each of them. Click on this dotted left part of the module that you want to rearrange and drag it to the desired position.
Edit Module Details
You can find an “Edit Module Details” button on the right side of each module:

If you click on it, the same pop-up window will open that you have used when adding the module.
Thus, you will be able to edit any of the details that you have previously added to this module or you can complete the details with new info. After you are done, just click on “Save” and the updated details will be saved.
Edit Content
The content of the module can also be edited, using the Thrive Architect editor. If you want to do that, you can use the “Edit Content” option:

Clicking on this option will take you to the Thrive Architect editor, from where you are able to use the left sidebar options of each element, to customize it as you please.
Moreover, you can add new elements, using the plus sign from the right sidebar, and simply using the drag and drop method to place the elements.
Delete Module
In case you don’t need a module anymore, you can simply delete it, using the “Delete Module” button that can be found on the right side of the module.

Keep in mind that deleting a module also means deleting the content (lessons, chapters) that is inside the respective module.
After you confirm that this is what you want to do, the module will be deleted.
If you want to learn about how to create chapters, read this article and if you are curious about the bulk actions that you can take while using Thrive Apprentice, please check out this tutorial.
Hopefully, this article was useful to you. If so, please reward it with a smile below 🙂